Are you struggling to create forms in Gohighlevel? No worries! Because this guide has got you covered. With extensive experience in Gohighlevel, we’re ready to show you how you can easily create, edit, and embed forms. We will also talk about creating custom fields, designing forms, and many more things.
Let’s dive in!
What are Forms and their Different Types?
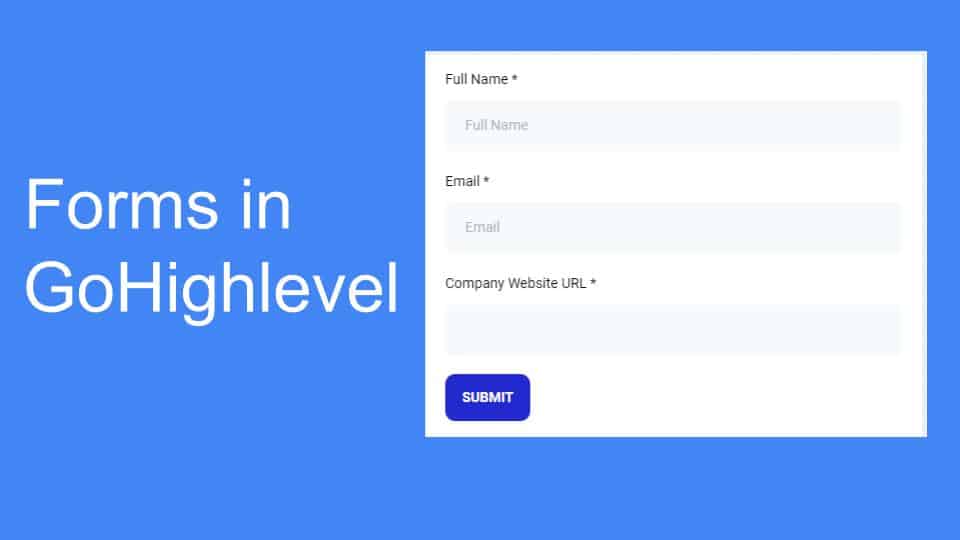
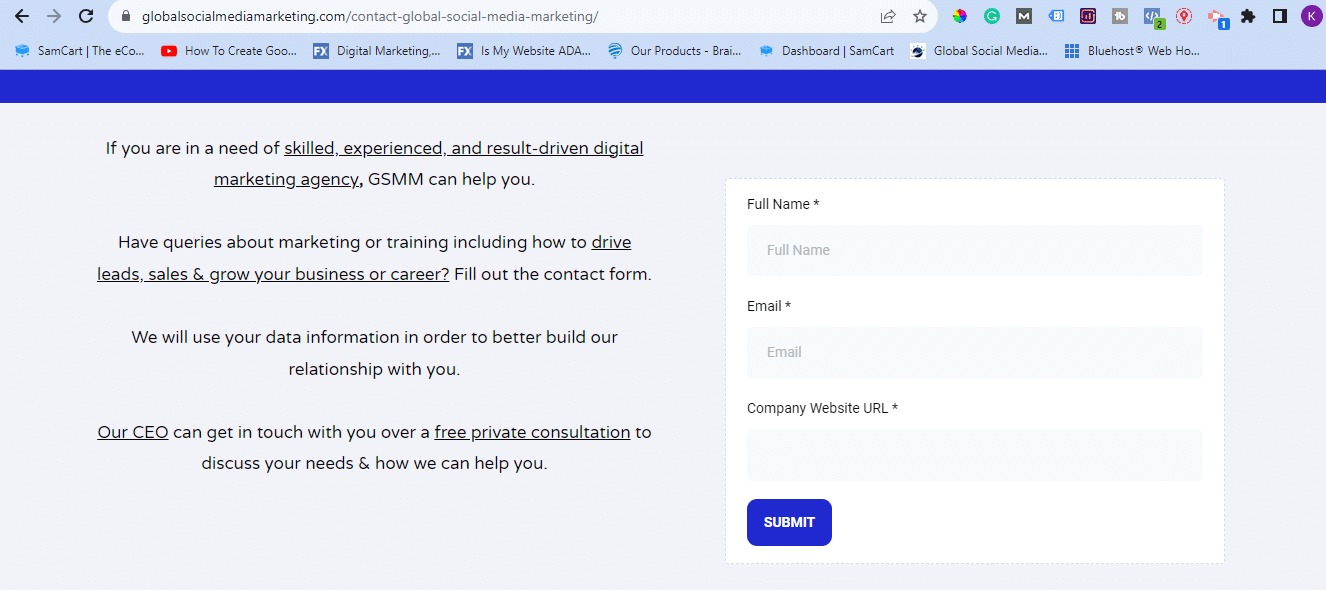
Forms are a very important part of every website because they help you to easily capture leads and collect data in an organized manner. There are different types of forms that you can use for specific purposes. The most common example of a form is the Contact Us form. For example, you can see a basic Contact Us form on the GSMM Contact Us page that anyone can fill out if they want to get in touch with us.
Similarly, there are many other forms such as
- Newsletter forms
- Lead and data collection form.
- Appointment forms
- Job applications forms
- Survey forms
- Purchase order forms
- And many more
How to Create Forms in GoHighLevel?
We’re using Gohighlevel CRM which is all-in-one marketing and sales software. It comes with a simple and easy-to-use form builder. Using this builder, you can’t only build forms but also analyze and track submissions. Let’s see how you can create forms in the Gohighlevel.
1) Navigate to Forms Builder
Navigate to your Highlevel account, and go to “Sites” from the left navigation. Now, hover over the “Forms” tab.
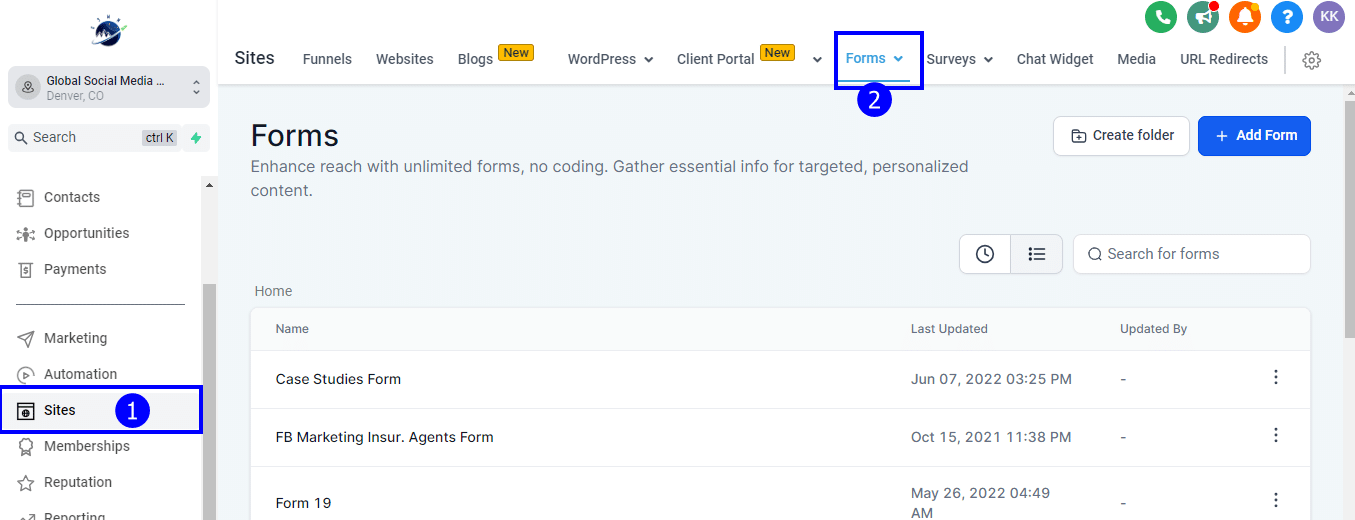
Under the forms tab, you will see three sub-menus:
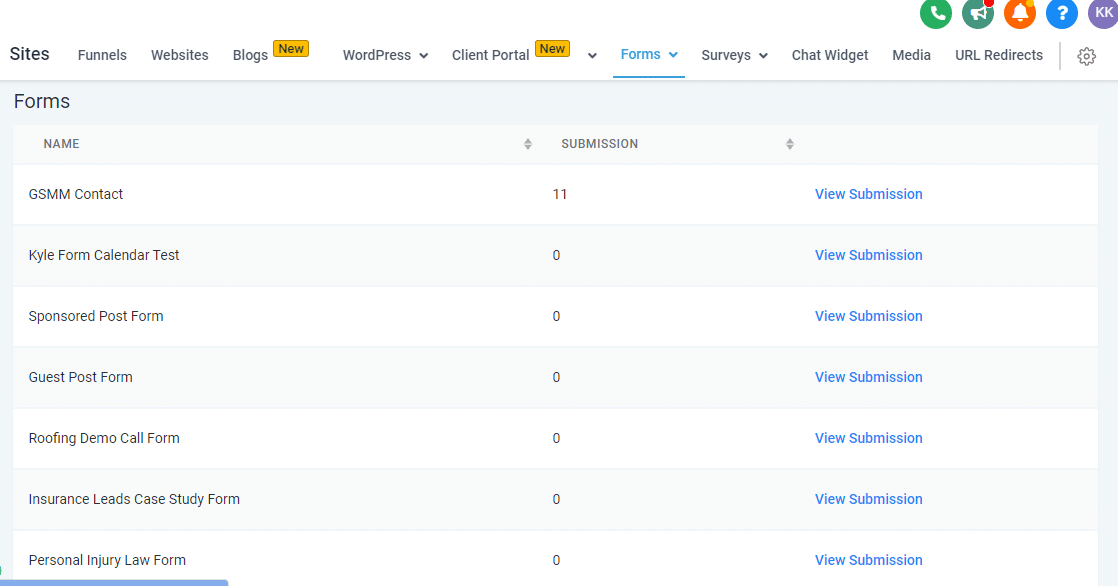
Builder: It will bring you to the forms area, from where you can check all the existing forms and create new forms.
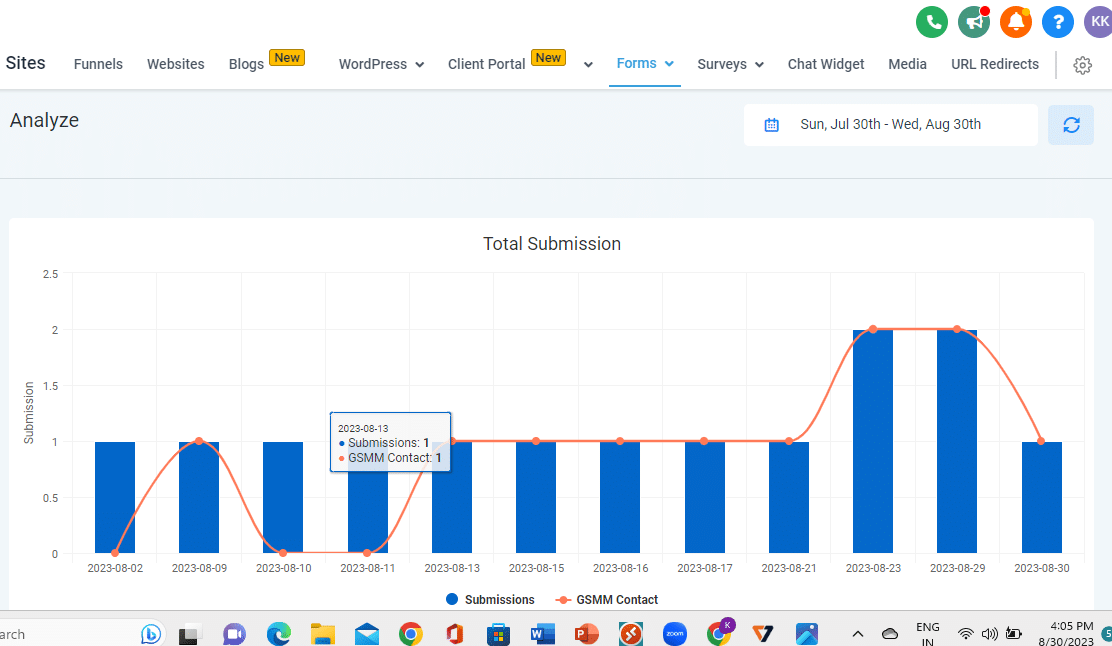
Analyze: To track how many forms are filled over time and which forms have how many submissions.
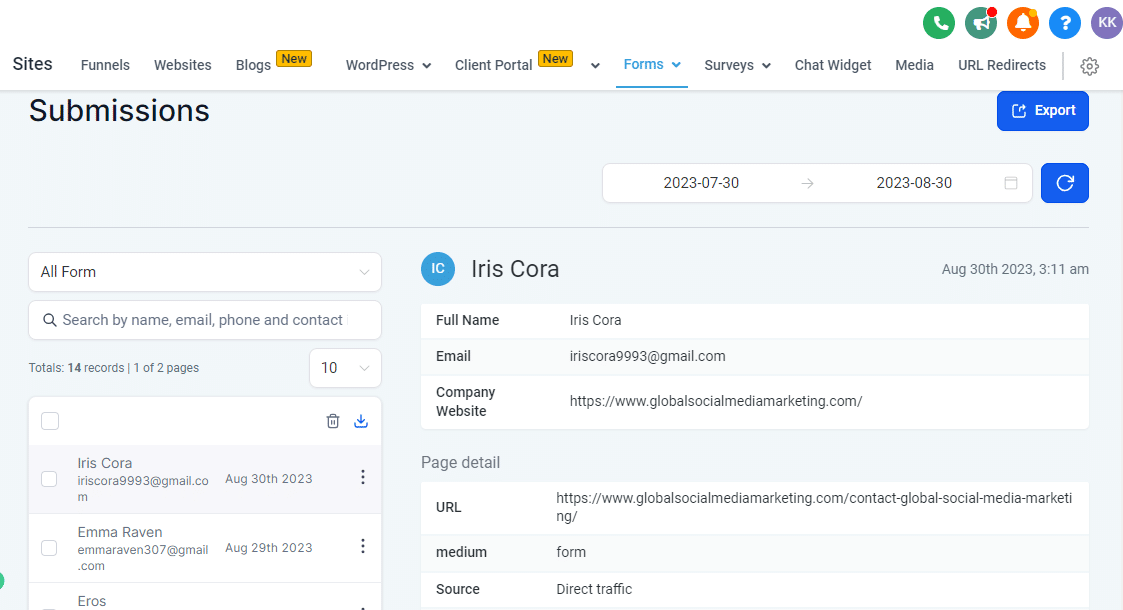
Submissions: Check all the submissions with their detailed information. You can also filter out the submissions by selecting desired forms, fields, or date ranges. Plus, you have the option to export the contacts.
2)Create Forms in GoHighLevel
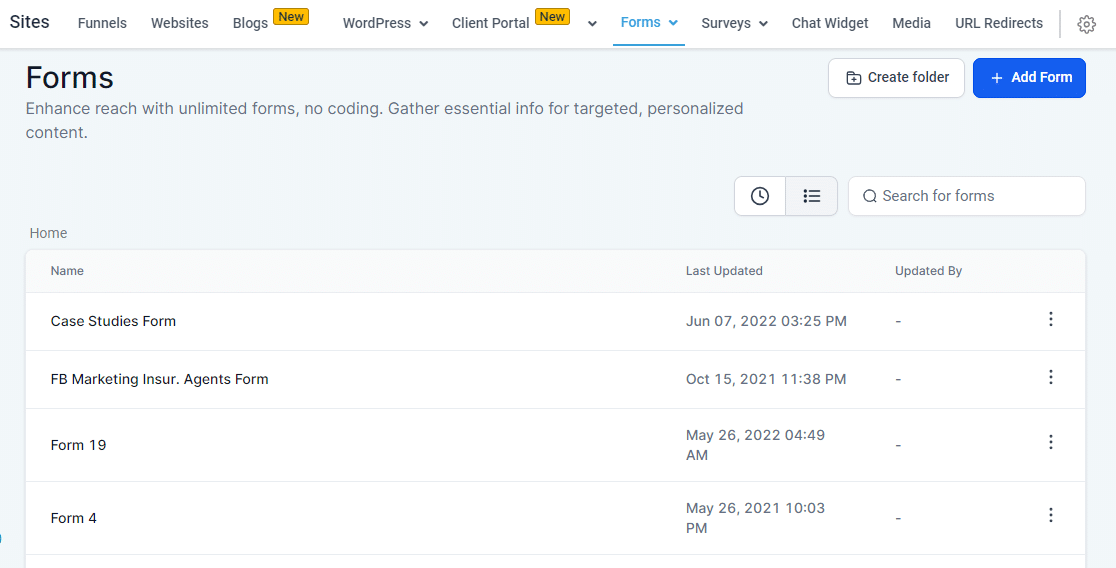
To create forms, select the “Builder” from the Form drop-down menu. From this page, hit the “Add Form” button.
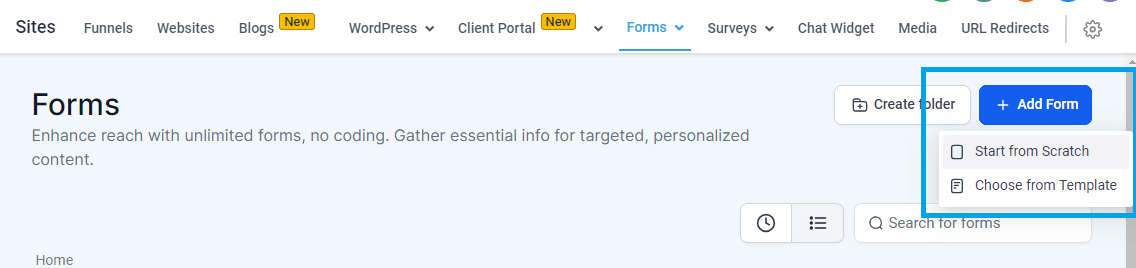
For creating a form in HighLevel you’ve two options:
- Start from scratch: It will open up the blank builder from where you can create the entire form from scratch. You will get a drag-and-drop builder and based on your need you can create your own form.
- Choose from the template: It will give you a list of pre-built forms for different industries and purposes. You can simply select any of the prebuilt templates and edit them as per your needs. So, you don’t need to create the forms from scratch.
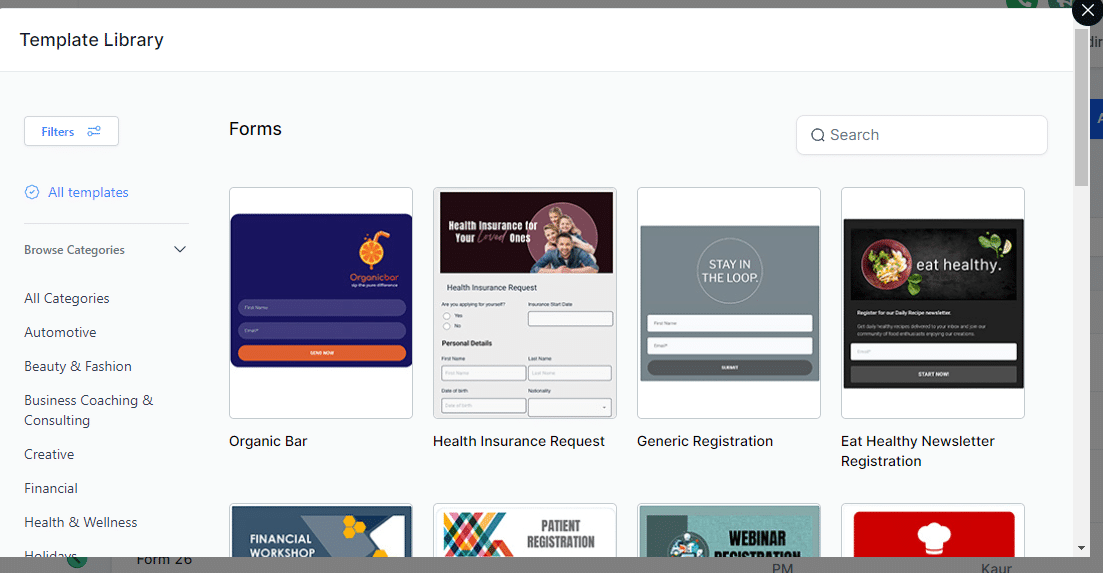
Creating a form from templates is quite easy, just find the template that suits your needs and edit it further. Your form will be ready to go.
Creating Form using the Start From Scratch option
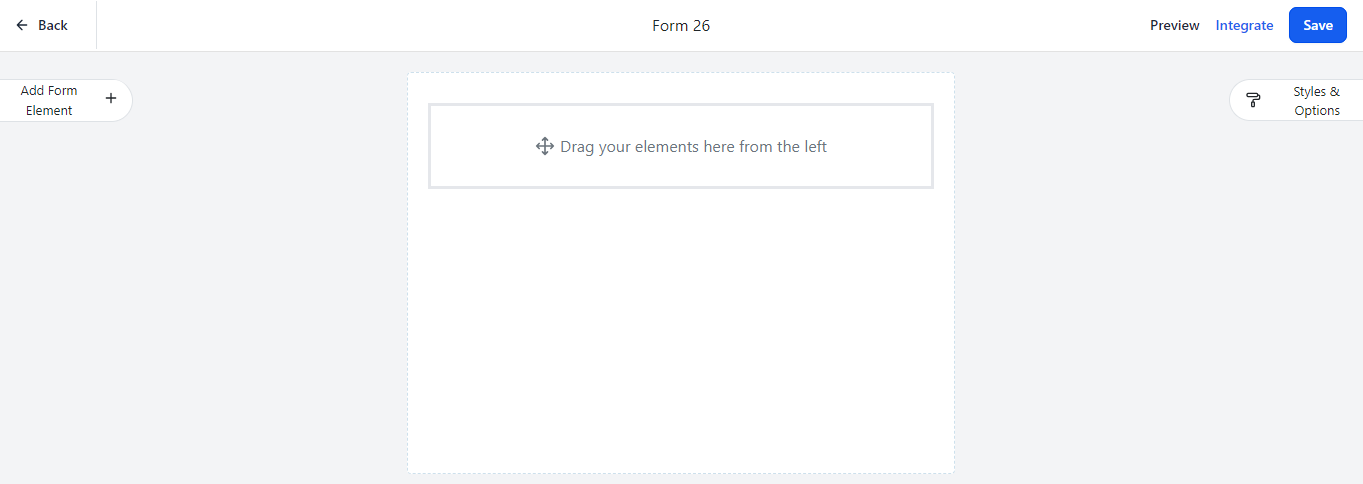
As of now, we’re going to select the “Start From Scratch” option and it will bring you to the form builder area as shown below.
3) Add Form Elements
To build a form, you need to add elements or fields like full name, and email. For this, gohighlevel forms have two options:
- Quick add elements: Prebuilt fields that you can add to your forms with a drag-and-drop option.
- Custom field: Sometimes we want to add some custom fields in our forms. In that case, you can create your own field as well and add it to your form.
Firstly, we will go over adding fields using the quick add option and then we will discuss creating and adding custom fields.
Steps for quickly adding elements:
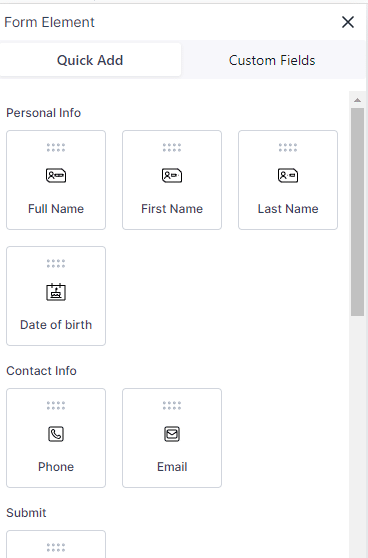
Click on the “Add Form Element” button from the left side. Next, you will see the fields which you can add to your form under the Quick Add Section.
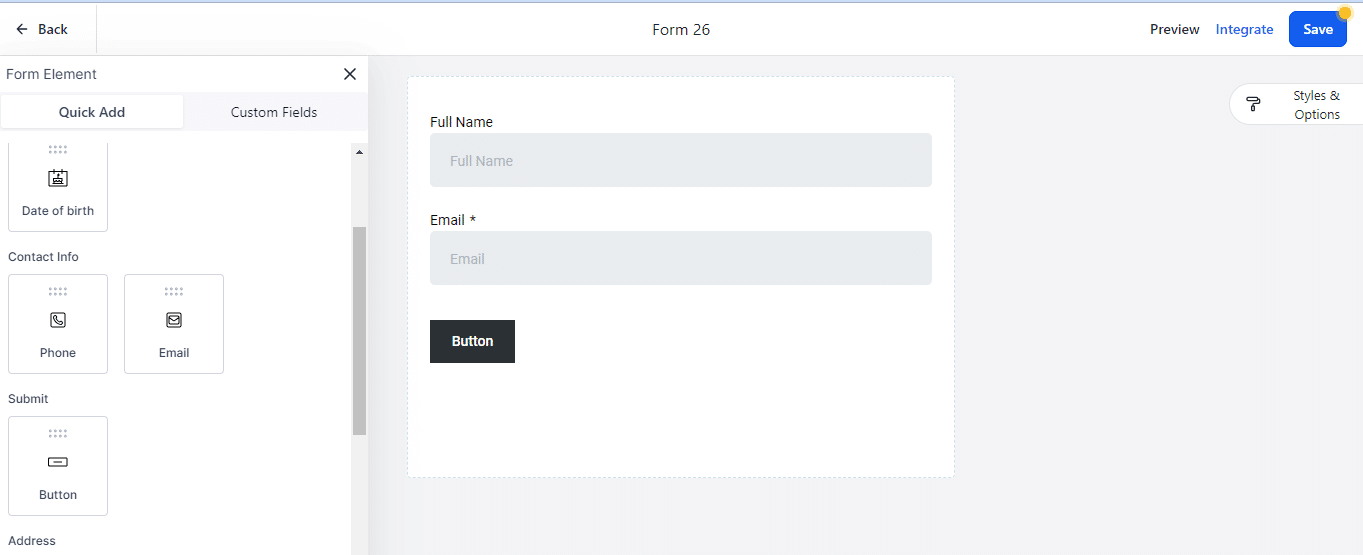
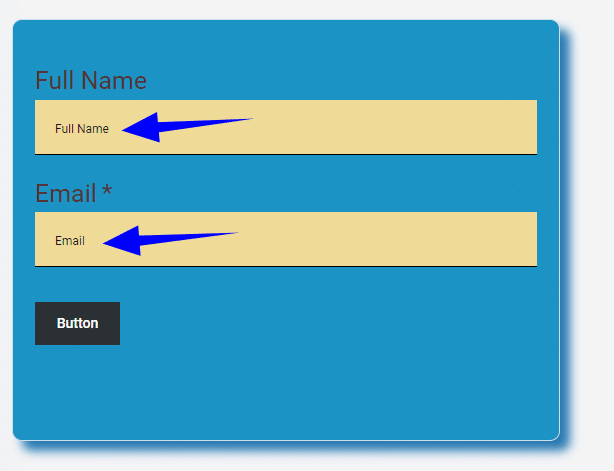
For example, you can just drag the full name element and drop over the middle form builder area to add it to your form. Similarly, you can add other elements such as email and a button to create a basic contact form. After adding the element, below is how the form looks now.
There are many more elements that you can add to your form. Based on your need, pick the element from the left side and drop it over the form builder area to add that element to your form.
Create and Add Custom Fields:
You can also add custom fields to your forms in GoHighLevel as per your requirements. Let’s suppose the field that you want to add to your form is not available in the “quick add” section. In that case, you can create your own custom field and add it to your form. For creating custom fields, switch to the “Custom fields” section from the left side of the form builder.

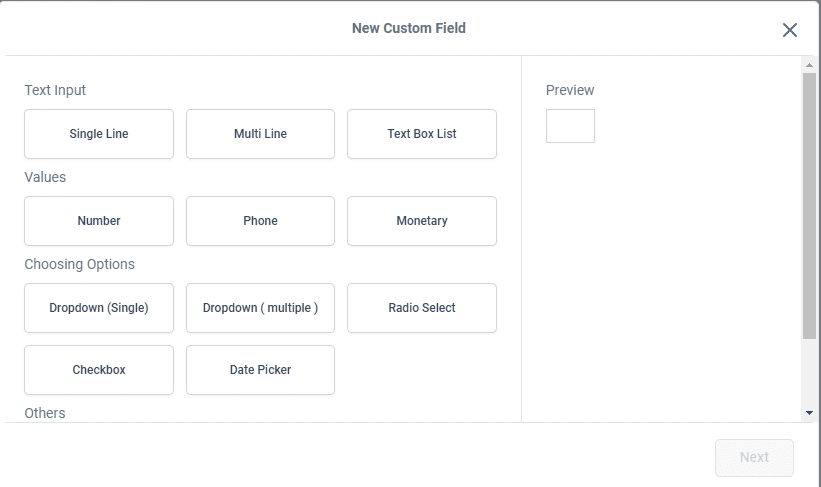
In the above screenshot, you can see the custom field that we’ve created in the past. Plus, there is a button to add a new custom field. Now, click on the “Add custom fields” button. Next, you will see the field types that you can add such as text, values, choosing options, and other types. For example, If you want to add a dropdown in your form, you can select a “Dropdown(multiple)” from the “Choosing Options” section.
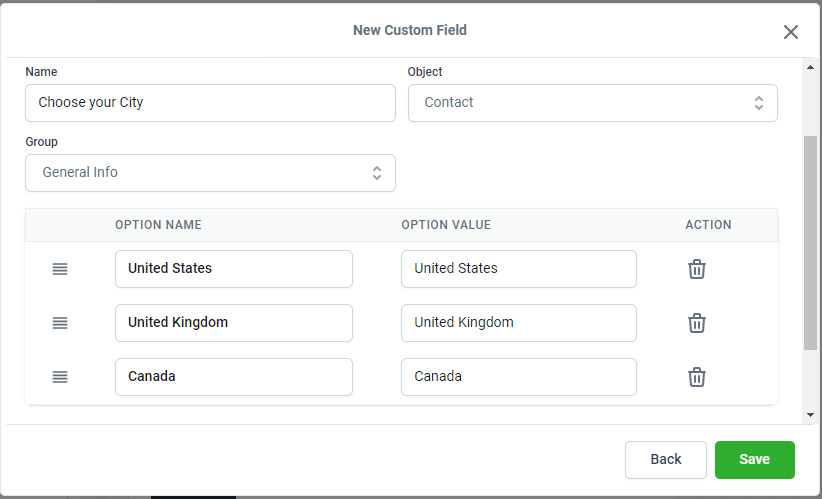
Once selected, click on the “Next” button, and then you can add dropdown menu options as shown below. And, click on the “Save” button.
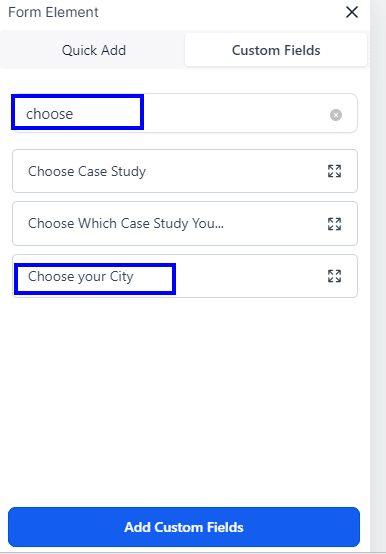
Now the custom field will be created, next you need to add that field in your form. For this, just search for the field name that you just created.
Drag the field and just drop it to the form place where you want to add it. Lastly, make sure to hit the “Save” button from the top.
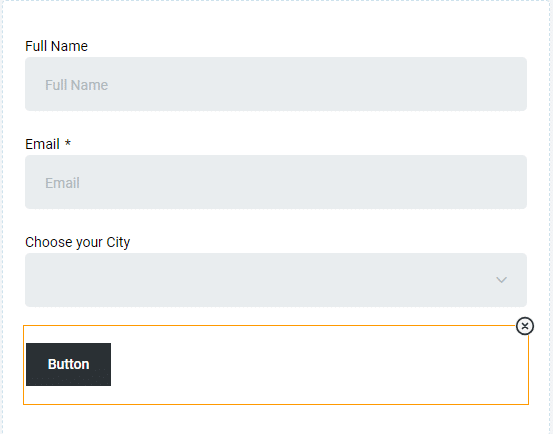
This is how you can create and add custom fields in your form.
4) Style and Customize the Forms in GoHighLevel
Once you have added the elements, you can style and customize the look and feel of your form. For this, Open up the “Style & Options” menu from the right side.
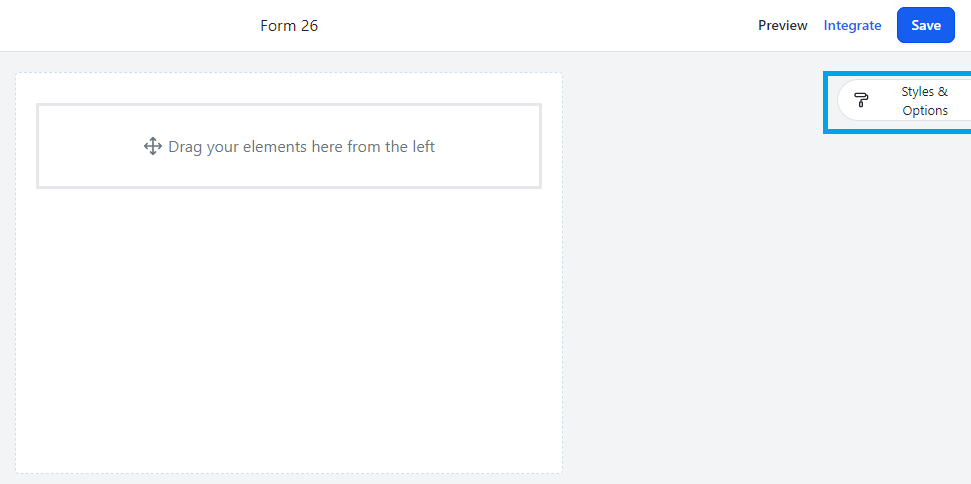
Next, you will see the various options for styling and customizing your entire form.
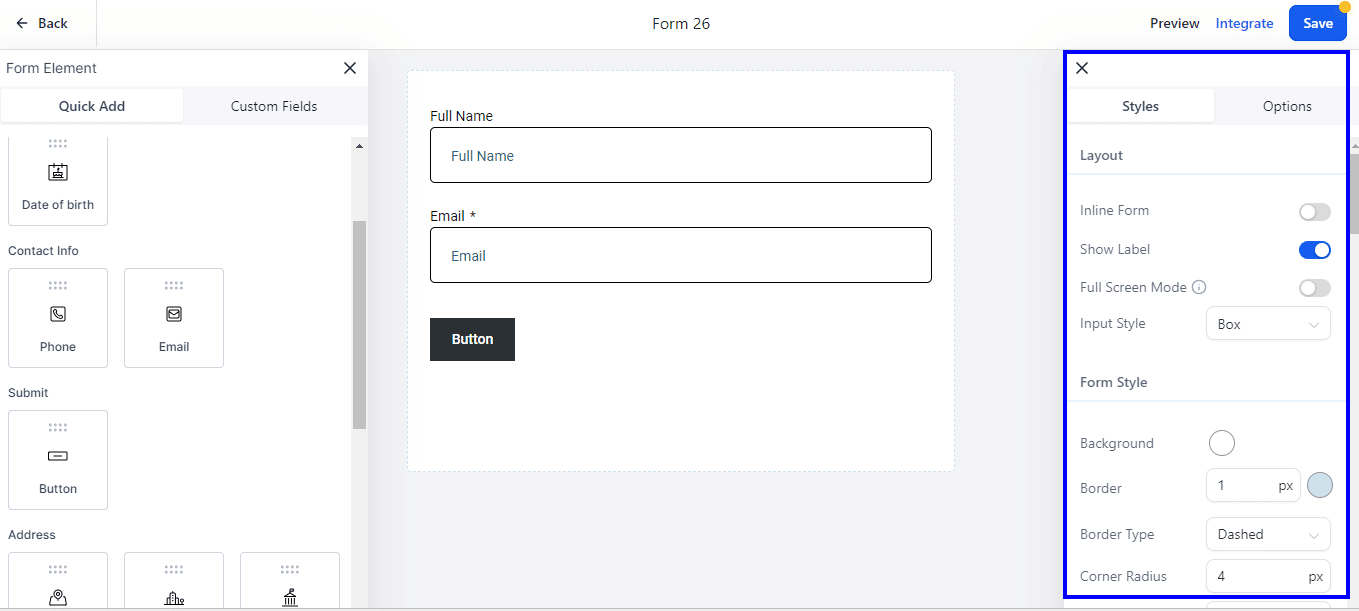
Let’s briefly talk about the styling features.
Layout Settings:
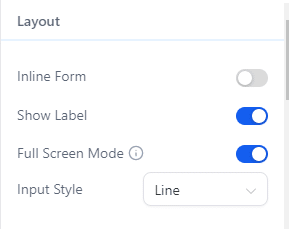
- Inline Form: To align all the form fields in one line.
- Show label: To show the name of the field.
- Full-Screen Mode: To expand the form to the entire width of the container.
- Input style: Either choose boxed or lined style for input.
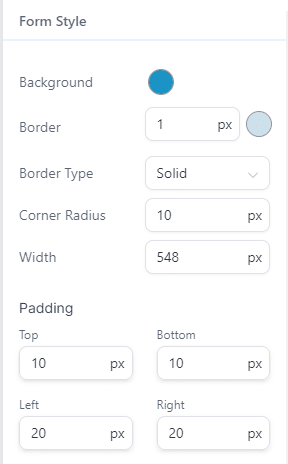
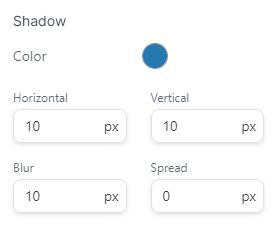
Form Style:
From here you can change the background color of your form. Apply borders and padding to add more breathing to your form. Additionally, there is also an option to add a shadow to your form.
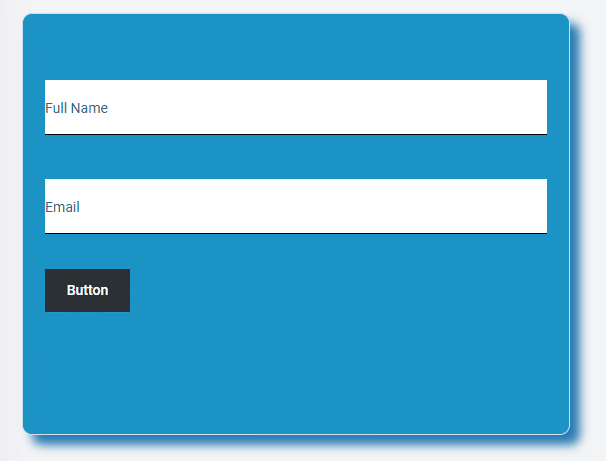
I’m going to apply the following form style settings and after applying these settings, below is how my form looks now.
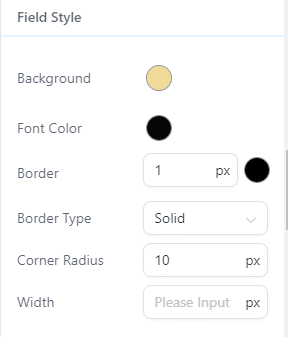
Field Style:
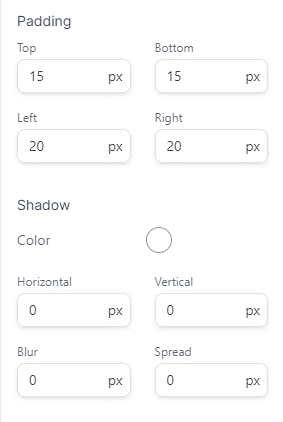
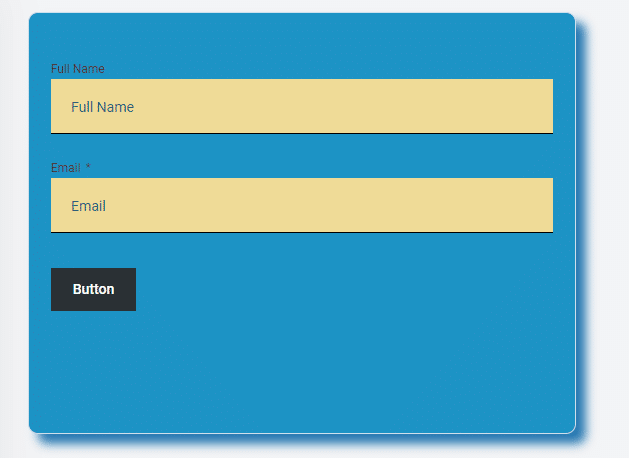
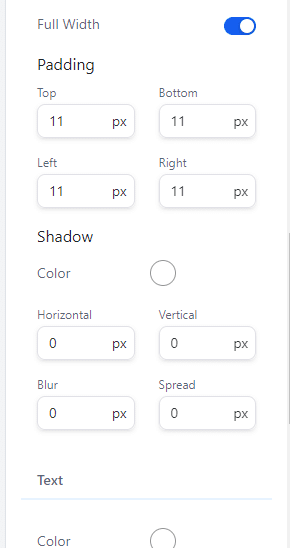
Next, you can style the fields of your form such as full name and email field. You can choose background color, and font color and apply border options. Additionally, you can add padding and shadow to make your form field more attractive.
I have applied the following settings to the fields. After applying these settings, this is how our form looks now.
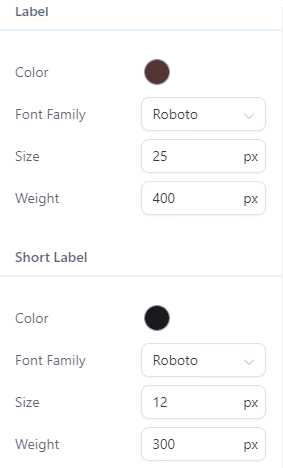
Label and Short Label
Label is the name of the field which is shown above the input area. In our form, the full name and email are the labels. From here, you can change the color, font family, size, and weight of the label and short label of your form.
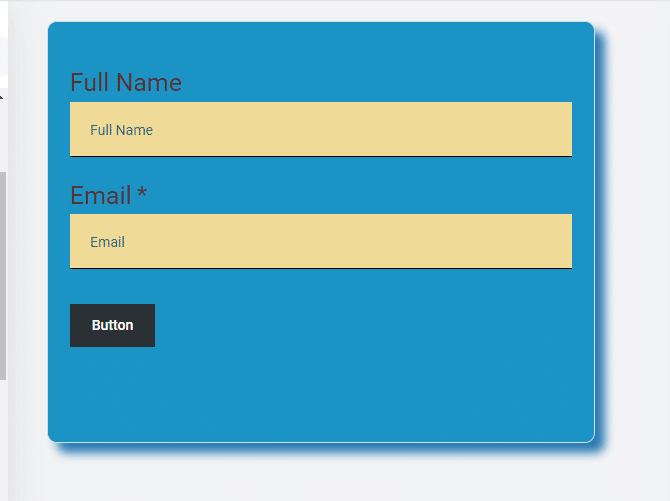
I applied the following settings, And this is how the form looks now, the label size becomes bigger.
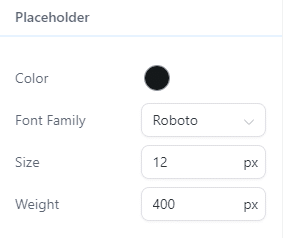
Placeholder Settings:
A placeholder is a value that is pre-written in the form field to give direction to users. For example, in this form, the placeholder value is just the same as the label of a field which is full name and email. Later in this guide, I will show how you can change this placeholder value to custom.
I applied the following changes to the placeholder settings.
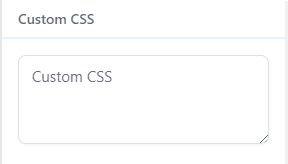
Custom CSS: If you want to add more styling to your form, you can add custom CSS in the below field.
5) Style Individual Fields
Now, you have styled most of the things in your form. But these settings will apply to the entire form. But in case, you want to customize the individual fields. For customizing the individual fields, just select the field and on the right side, you will see the settings for your field. From here you can change the label, placeholder, and short label name. Additionally, here you will get an option to mark the select field as required.
So, I selected the full name field to customize it. I applied the following settings and marked it as a required field.

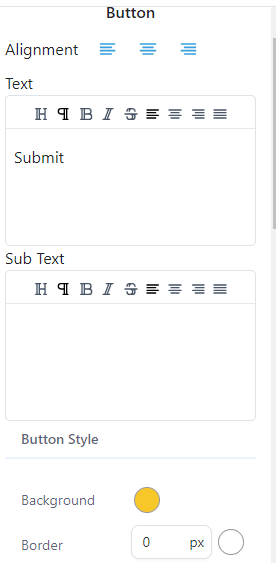
Based on the element the settings may vary. For example, if you select the button field, you will get many more styling options as shown below. I applied the above settings to the button and this is how the button field looks now.

Step 6: Customize the Things After Submission
Next, you can also customize and style the things that will happen once the user hits the submit button. For example, you can be shown a thank you message and redirect them to another url. For things, a new switch to the “options tab” under the style and options area.
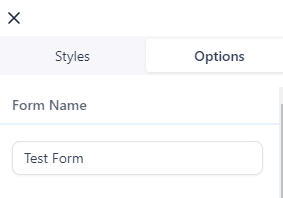
From, you can also change the name of your form. The name will not shown to the users, but to differentiate your form from other forms, you can give it a unique name.
On Submit Settings:
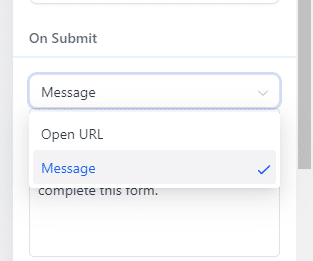
Once anyone hits the submit button, you have two options to apply:
- Message: Display the message on the same screen.
- Open url: Enter the url here and redirect users to this url.
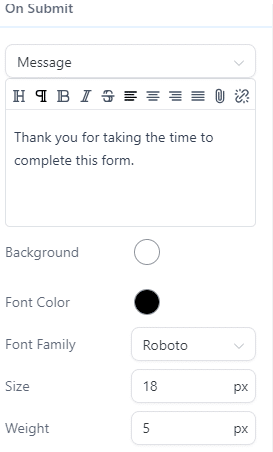
As of now, I’m just choosing the “Message” option. Additionally, you can customize the message and its color, font, size, and weight settings.
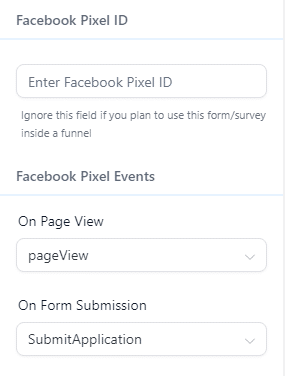
Lastly, there are options to add a Facebook pixel ID for tracking and triggering relevant events.
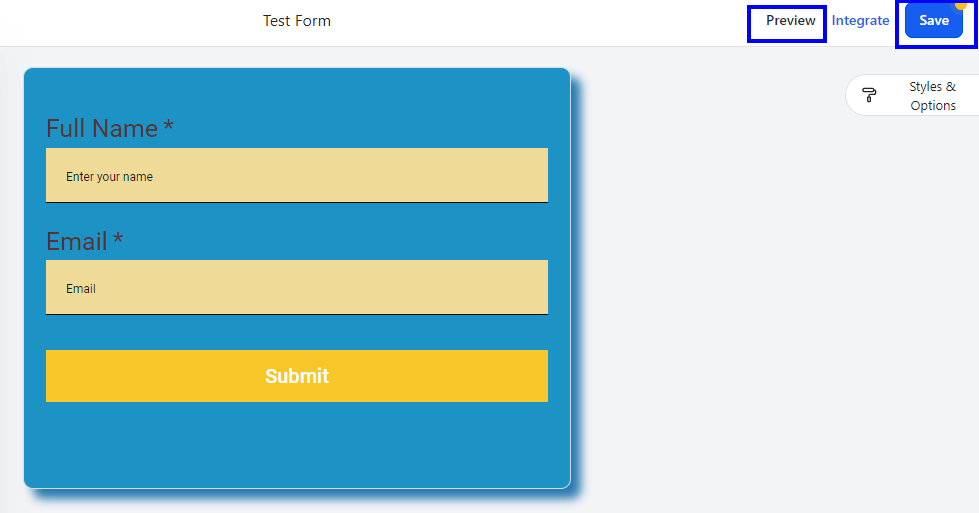
Once you have done this, make sure to hit the “Save”. You can also preview the form by clicking on the “Preview” from the top.
7) Customize the Settings For Integration
Now you know how you can create and style the form in the HighLevel. Next is how you customize the integration settings.
Navigate to the top bar and click “Integrate”
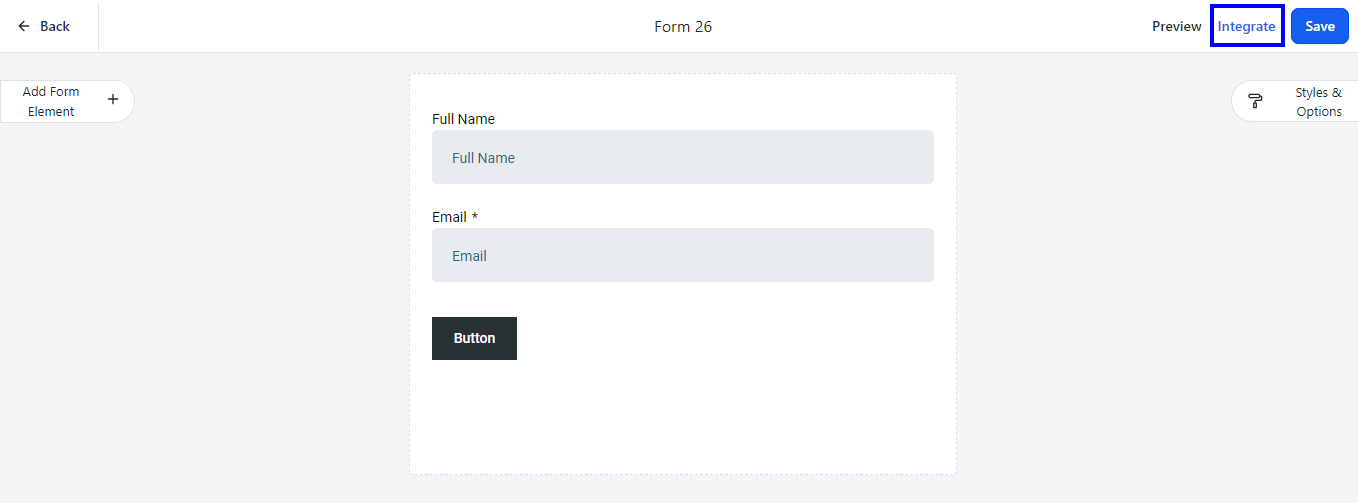
This will open up the below page for you which includes settings for integration.
Select the Embedding layout:
On the left side of the page, you can select the layout for embedding. It means how you want to display the form on the sales funnel or external website page. There are four different layout styles to choose from :
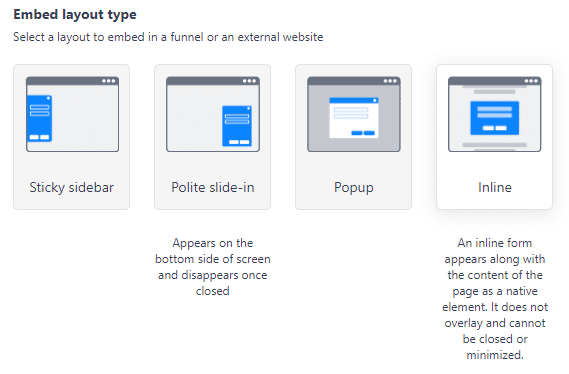
- Sticky sidebar: Form will appear on the side of the screen and can be minimized to a tab that sticks to the side of the window
- Polite slide-in: Form appears on the bottom side of the screen and disappears once closed
- Popup: A pop-up shows the form as an overlay inside a lightbox. It cannot be minimized but closed.
- Inline: Form appears along with the content of the page as a native element. It does not overlay and cannot be closed or minimized.
Based on the type of your form, you can select the appropriate layout for embedding your form in sales funnel or website pages. For example, if you want a form to be displayed in the pop format. You can select the pop layout from here. As in this guide, we’ve created a Contact Us form. So for this, an inline format will work best.
So, I’m going to select “Inline” for the embed layout type. Once you select the desired embed layout type, you will see the corresponding settings on the right side.
Trigger Type:
Choose how you want to trigger the form. You can select,
- Want to add form after someone scrolls up to a few depths? Perfect Choose the “Show on Scrolling” option and add the percentage.
- Want to show form after some time from the visit? Perfect! Choose the “Show after” option and add seconds after which you want the form to be displayed.
- Lastly, you can pick the “Always show” option, if you want the form to always be on the page. I selected this option because the Contact Us form should always be there on the page.
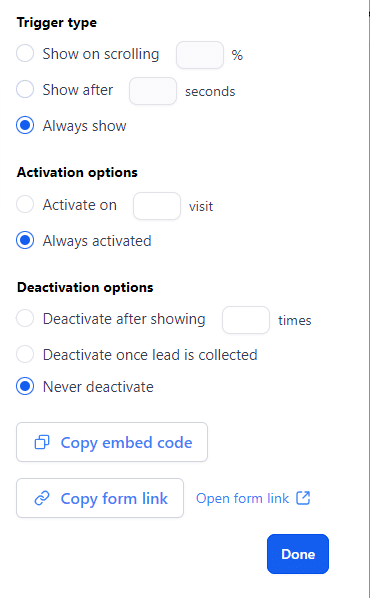
Activate Options:
From here you can tell when you want to activate the trigger of a form. You have two options:
- Activate on _ visit: It allows you to activate the form on a visit basis. For example, you can add 2 visits to show the form to the user who will visit the second time.
- Always activate: Select this option if you want to form to be always activated. I’m selecting this option because the Contact Us form should always be activated.
Deactivate Options:
You can also define the ways to deactivate that particular form. Here you have three options:
- Deactivate after showing _times: Enter the value after which you want the form to be deactivated.
- Deactivate once the lead is collected: This will stop displaying the form to the leads who are already collected.
- Never deactivate: Never stop displaying the form. For this guide, I will select this option because the Contact Us form will never be deactivated.
Once you made the change, hit “Done” and it will bring you back to the main form builder page. From here, you can hit the “Save” button to make sure everything is saved.
8) Embed the Forms
You can embed the form in the Highlevel sales funnel pages or external website or sales funnel pages as well. Firstly let’s see how you can embed highlevel forms to the external sites.
Steps For Embedding the Highlevel Forms in the External Sites
Click on Integrate, from the Form Builder area as shown in the above step. Once you’ve selected the embedding type, you will see the two options for embedding.
- Copy Embed Code: Click on it to copy the code and paste it on the backend of your external website or sales page.
- Copy Form link: Copy the link of your form and insert it in the site where you want to link it.
This is how you can easily embed the highlevel form to the external sites.
Steps For Embedding the Forms in GoHighlevel Sales Funnel Pages
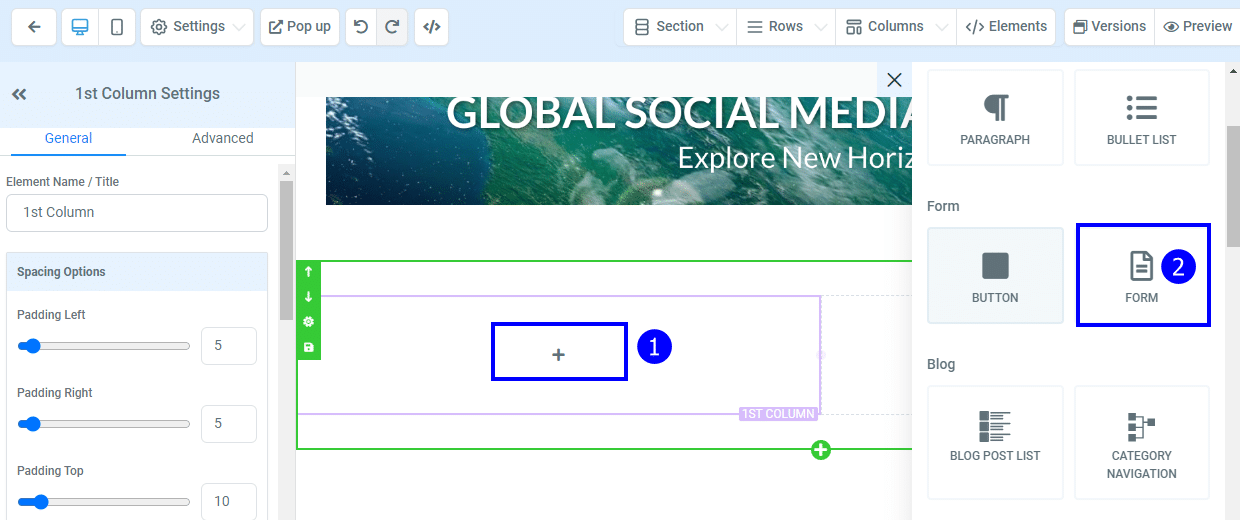
If you want to embed the form into the highlevel sales funnel or landing page itself, you can easily do it with a few mouse clicks. Just open the sales funnel page in which you want to embed the form. Once you’re in the sales funnel builder, Click on the “+” icon to add an element and then select “Form”.
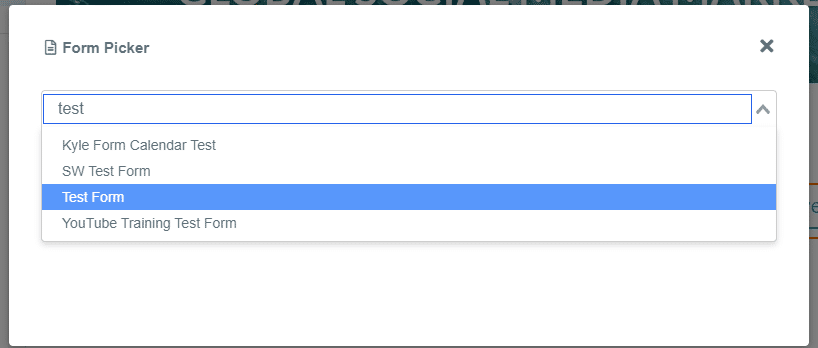
Next, Form Picker will pop up and from here you can select the “Gohighlevel Form” that you want to add to your sales funnel page. So, I’m going to select the form that we’ve created for this guide which is the “Test Form”
Once you select the form, it will start displaying on that sales funnel. And, make sure to save the funnel as well. This is how you can embed the form within a highlevel platform or external website and sales funnel page.
Conclusion
I hope this guide will give you complete directions for creating, customizing, integrating, and embedding forms in GoHighLevel. We’re a Marketing agency partnered with Gohighlevel. And also helping clients worldwide to better set up, manage, and automate their business with GoHighLevel. In case you need highlevel services, we’re happy to help you. For more information, check out the Gohighlevel Services page, and feel free to book a free consultation call with our CEO for further discussion.

Struggling to Effectively Use GoHighlevel?
No worries! Our GoHighlevel Mastery course can shift you from stress to success. After serving 100+ Highlevel clients, we’re now educating everyone on how to effectively use highlevel and automate your business in 2024. Check out our Highlevel Mastery Course to start Mastering Highlevel!