
Wondering how to create sales funnels? We’re creating sales funnels in Gohighlevel, which is all-in-one sales and marketing software and also comes with a built-in funnel builder. Gohighlevel funnel builder has a drag-and-drop interface that allows you to quickly create funnels. You can also use templates or create funnels from scratch. The big plus point is that Gohighlevel allows you to create unlimited sales funnels. Additionally, you can integrate sales funnels with workflows, triggers, campaigns, and pipelines to better automate your work. If you prefer watching the video, feel free to check our detailed video on how to build sales funnels in gohighlevel. Otherwise, continue reading this guide.
What are Sales Funnels?
A sales funnel is a visual representation of your buyer’s journey. It defines the complete journey of a lead from their first interaction to becoming your paying customers. The demand for sales funnels is at its peak because every business is using this marketing strategy to grow its leads, customers, and revenue. The purpose of a sales funnel is to raise awareness, interest, and desire and ultimately drive action. There are different types of sales funnels that you can create for your business. To know more, check out our guide on different types of sales funnels.
How to Build a Sales Funnel in GoHighLevel?
As we have discussed above, sales funnels contain different steps that users take to complete their buying journey. We can also call these steps sales funnel pages. In this guide, I’m going to show you how you can build a 3-step funnel in a highlevel winch containing the following steps.
- Landing page
- Form Page
- Thank you page.
For a video guide, you can check our YouTube Video which explains how to create a 3-step funnel at the Highlevel.
1) Navigate to Funnel Builder
Log in to your Gohighlevel account, choose “Sites” from the left navigation and you will be automatically landed in the “Funnels” tab. From this page, you can create new funnels as well as see the existing sales funnel if you’ve created any in the past. Additionally, there is an option to “Create a folder” for your funnels to better organize your sales funnels.
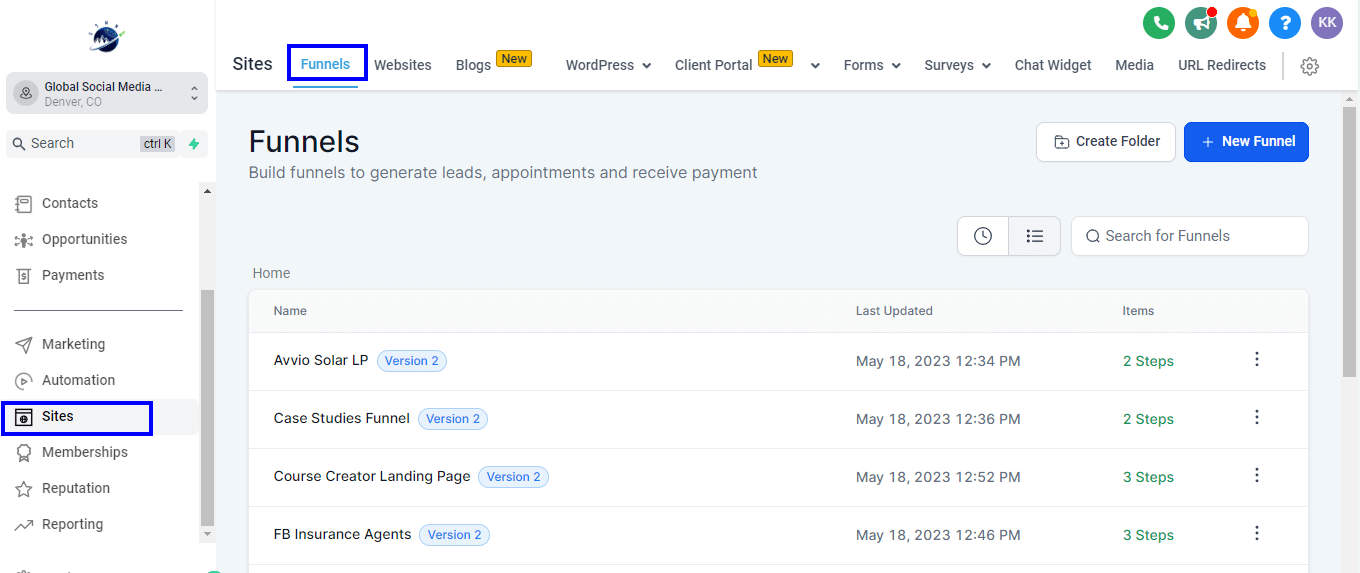
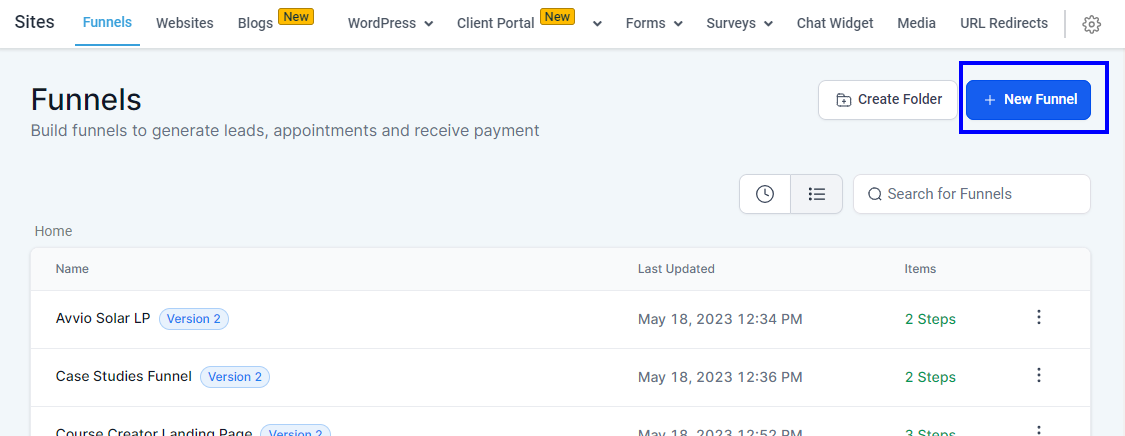
2) Create a Sales Funnel
To create a new sales funnel, click on the “New Funnel”
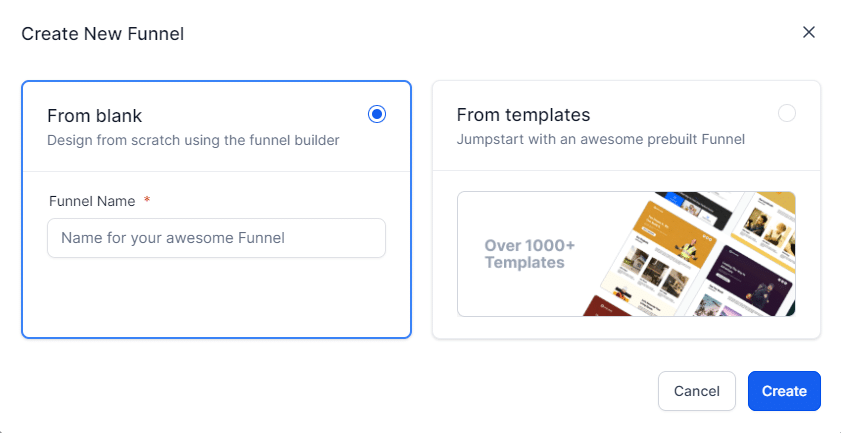
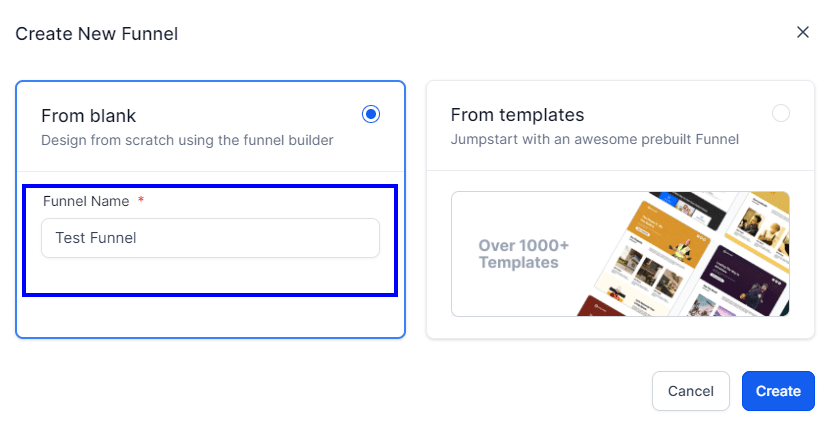
Next, you will get two options to create a funnel,
- From Blank: Choose this option to create a funnel from scratch using the funnel builder.
- From Templates: Pick the prebuilt funnel and edit it using the funnel builder.
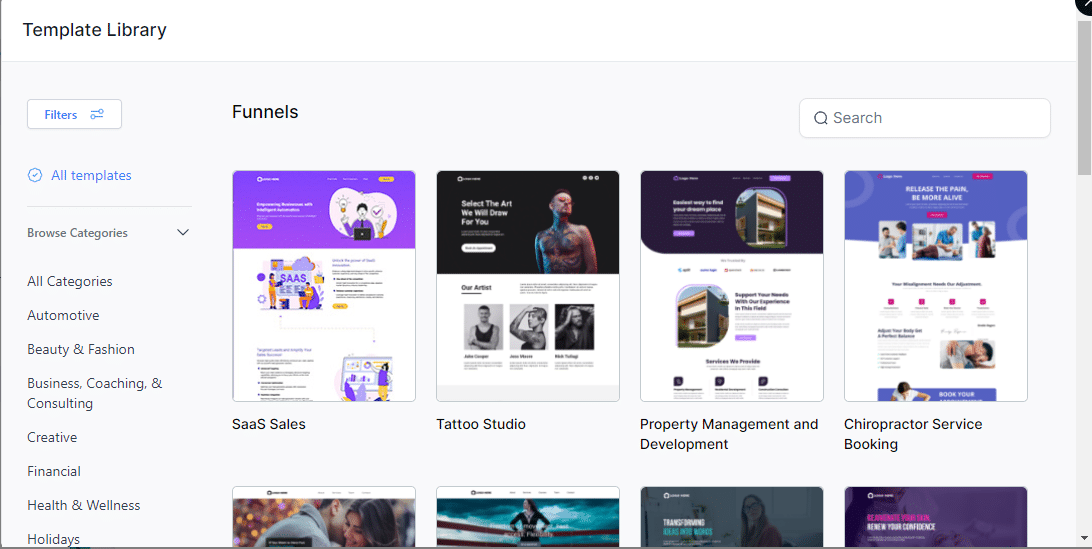
Create Funnels From Templates: Creating a funnel using templates is quick and easy. Once you have selected the “From templates” option it will bring you to the template library. From here you can pick a pre-built sales funnel and edit it as per your needs.
Create a Sales funnel From Scratch: Choose the “From Blank” Option, Give the name to your funnel, and click “Create”.
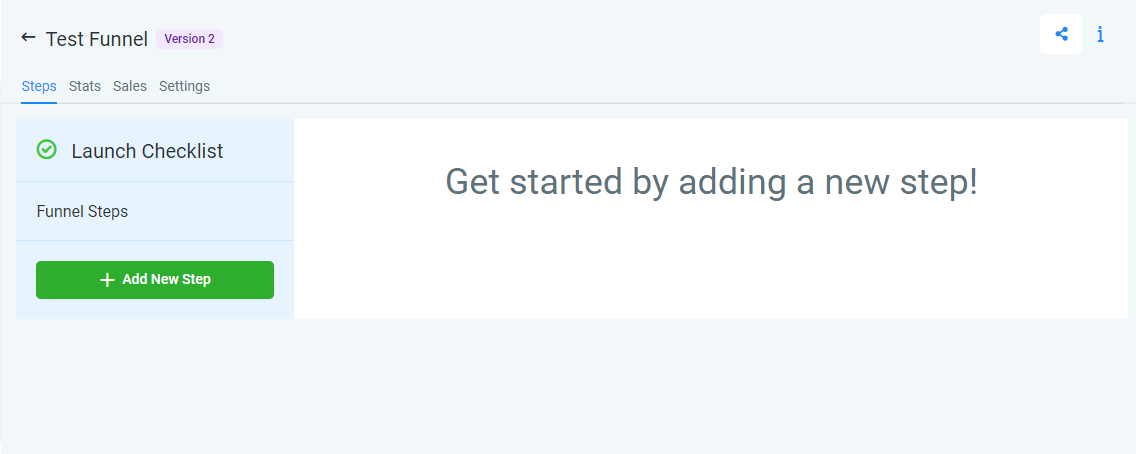
Now your funnel is created and you will be redirected back to the funnel’s main page. Next, you need to add steps to your funnel. So, find the newly created funnel under the existing funnels section or directly search your funnel by name using the search bar.

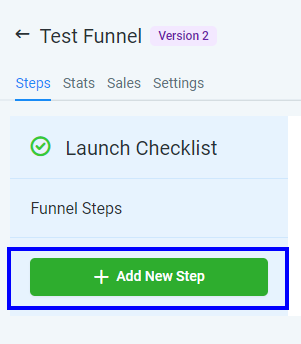
Click on your funnel name which is “Test Funnel” in our case. Once you’ve clicked on your funnel, it will bring you inside your funnel. Here you will see four different tabs for your funnels:
- Steps: To create steps for your funnel.
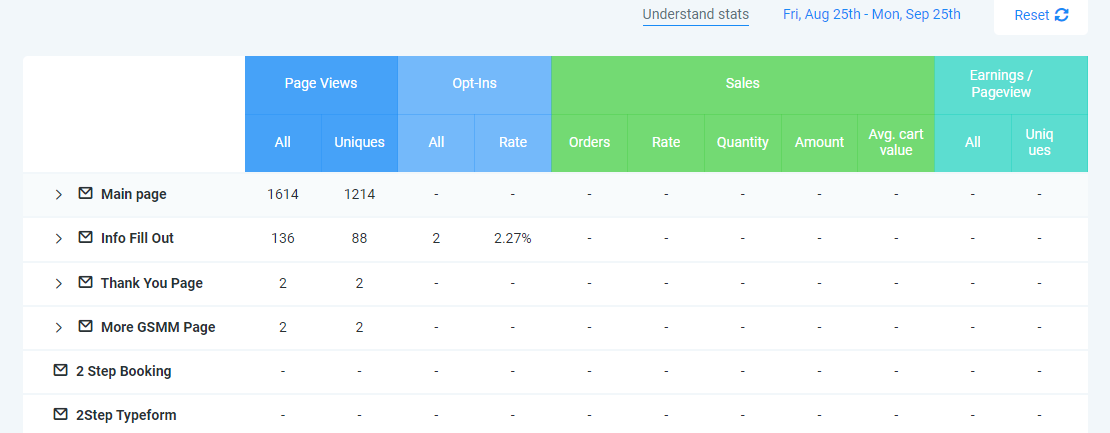
Stats: It shows the statistics of your funnel. For example, here is the screenshot of the stats section of our existing sales funnel.
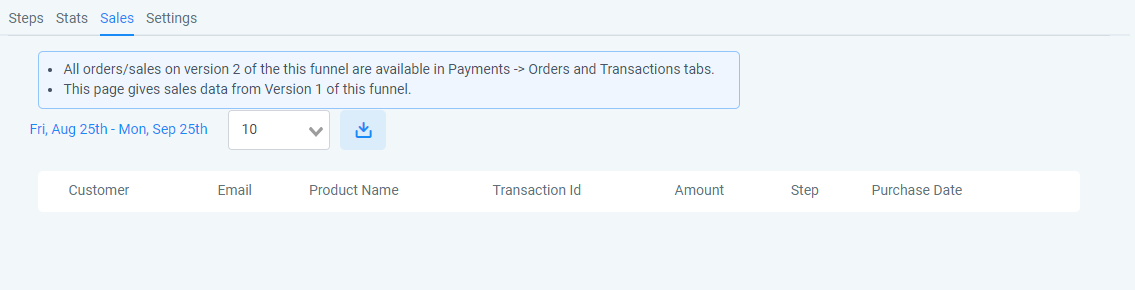
Sales: If you’re selling any products/services via the sales funnel directly and receiving payments then sales will show in this section. As of now, this section is blank because we’re not selling anything with this funnel.
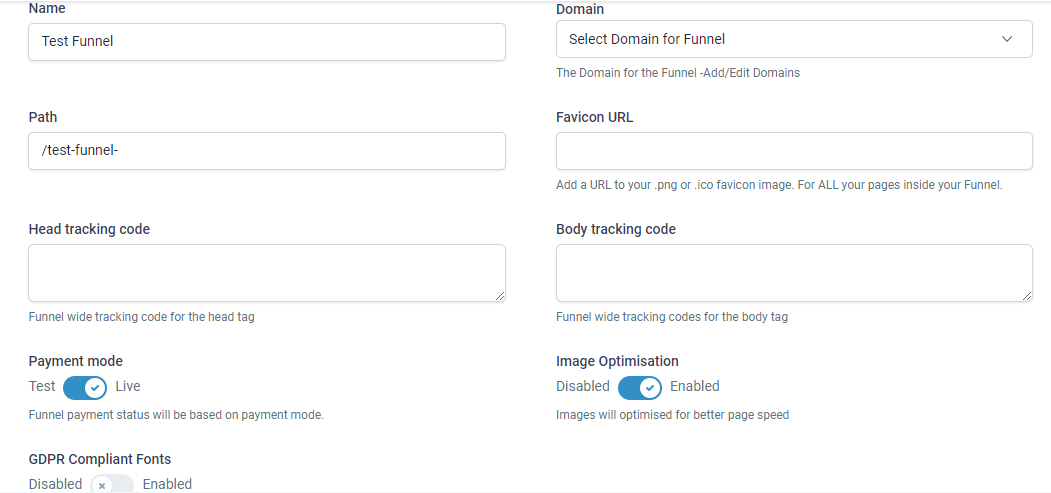
Settings: From here you can customize all the settings for your funnel.
3) Create Sales Funnel Steps
You can add steps to your funnel by Clicking on the Green “Add New Step” Button. In this guide, we’re building 3-step funnels, so we will add 3 steps by using this button.
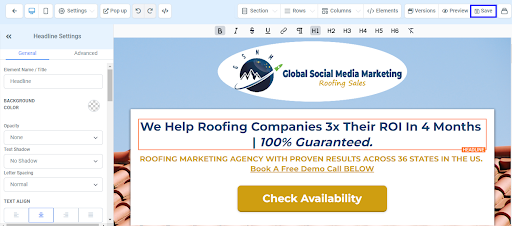
Create a landing page step: A landing page is the main page of our sales funnel, where leads will land. So, based on the purpose we can build a landing page. For example, the following is an example of a roofing leads sales funnel page.

To create a landing page, click on “Add New Step” Next, you will see a dialog box to create a funnel step. Enter the name and path(url of the page) then click “Create Funnel.”
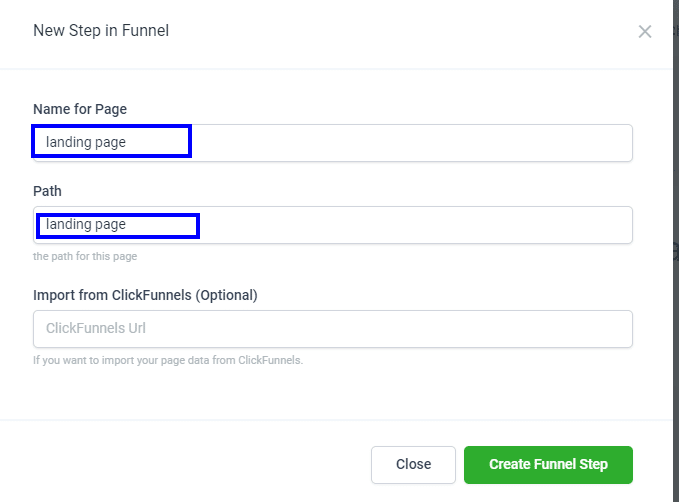
There is one more option that allows you to import your page from the Clickfunnel platform. For this, simply add the url of the Clickfunnel that you want to import. Once you’ve created the funnel step, you will see the relevant options on the right side. Next, you need to build the page. Again you have two options,
- Use existing sales funnel pages
- Create from blank.
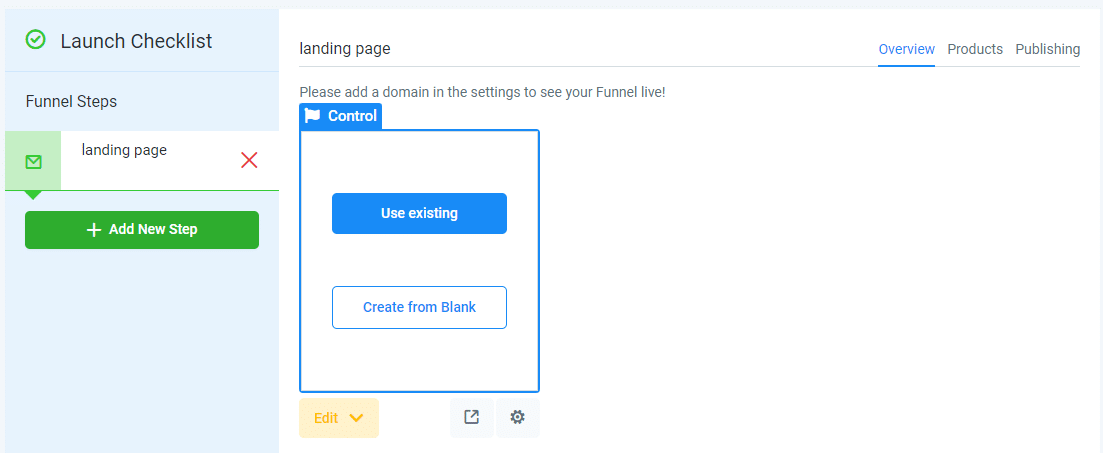
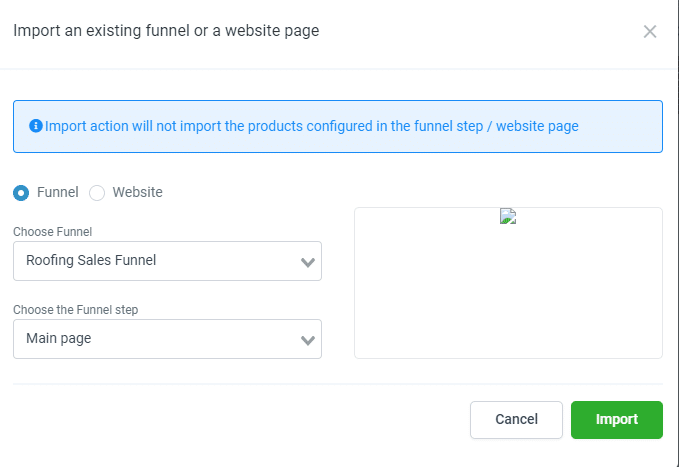
Create a funnel step using existing pages: This is quite an easy and quick process for creating a sales funnel. All you have to do is click on the “Use existing” Option. Next, choose an existing funnel or website page. For example, choose “Funnel” to import the step from the existing sales funnel. Next, “Select the funnel and funnel page” which you want to import. Finally, click on the “Import”.
Next, Click on “Edit”.
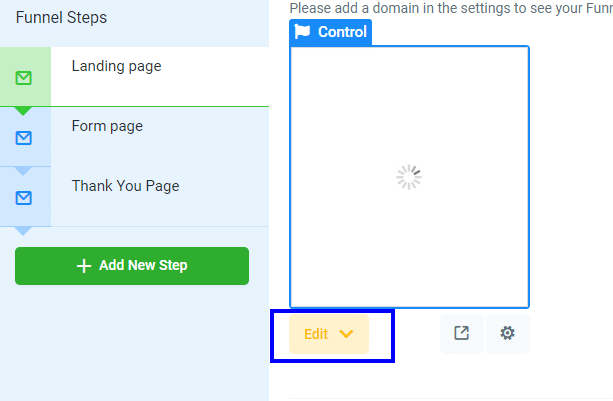
It will bring you to the funnel builder from where you can edit this page to match your needs. Once you’ve done editing, hit the “Save” Button from the top.
When you import the existing sales funnel, the settings will also be automatically imported along with the content. For example, the SEO settings are imported with the page, so make sure you double-check the settings of your page by clicking on the top settings tab and changing it accordingly. The same goes for tracking code and other things.
Create Funnel steps From Scratch
With Gohighlevel funnel builder you can also create funnel pages from scratch. For this, click on the “Create From Blank” option. It will bring you the drag-and-drop funnel builder where you can build and manage your own funnel page.
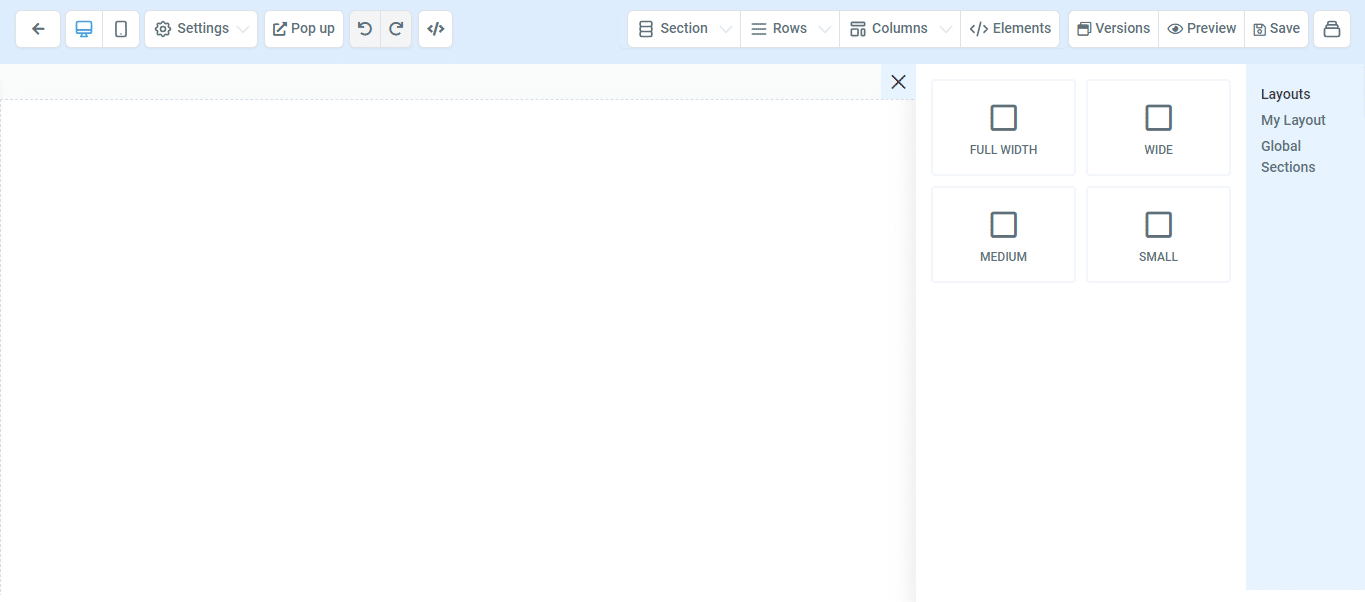
Here are the top things that you will see inside the funnel builder.
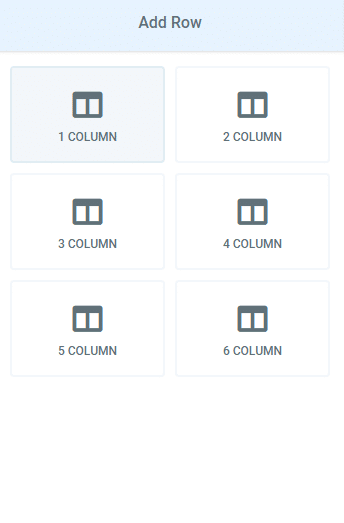
- Sections: Start with adding sections to decide the layout of your page. You can choose Full width, wide, medium, or small layout.
- Rows and columns: Next add rows and columns to properly organize your content on the page.
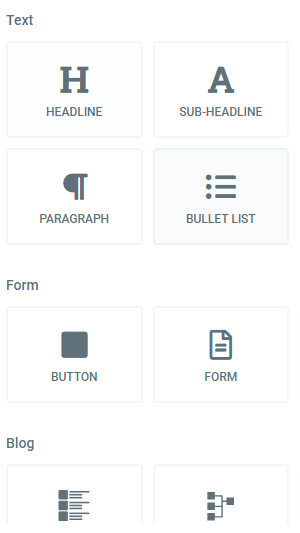
Add Element: There are different elements such as a headline, paragraph, bullet lists, images, buttons, and many more that you can add to build your page.
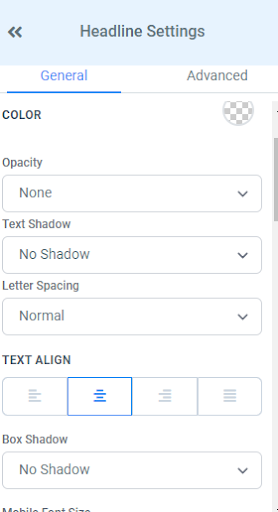
Customize the settings: Click on any section, row, column, and element and you will see the corresponding setting on the left-hand side. You can change the settings as per your needs. For example, headline settings,
- On the top of the page, you will see various icons such as:
- Responsiveness: You can check how your page will look on desktop and mobile devices by clicking on the respective icons on the top.

Settings: Under the settings tab, you will see the following options:

- SEO Metadata: Optimize your page for SEO by adding SEO metadata.
- Tracking data: Add the tracking codes for your sales funnel page.
- Custom CSS: Add any custom CSS if needed for designing your page.
- Background: Choose the background color or image of your page.
- Typography: Choose the Typography and text color for your page.
- Pop-Box: To add a pop-box to your page.
- Undo-redo: To go backward or forward.
- </>- Add Custom HTML
- Version: Check the version history of your page.
- Preview: Preview the page.
Save: Save all the changes.
Based on your needs you can add sections, rows, columns, and elements to build your landing page. For a video guide, you can check our YouTube video for this. Once you have finished creating your landing page, click on “Save”. Hit the back arrow from the top to come back to the main page of your funnel.
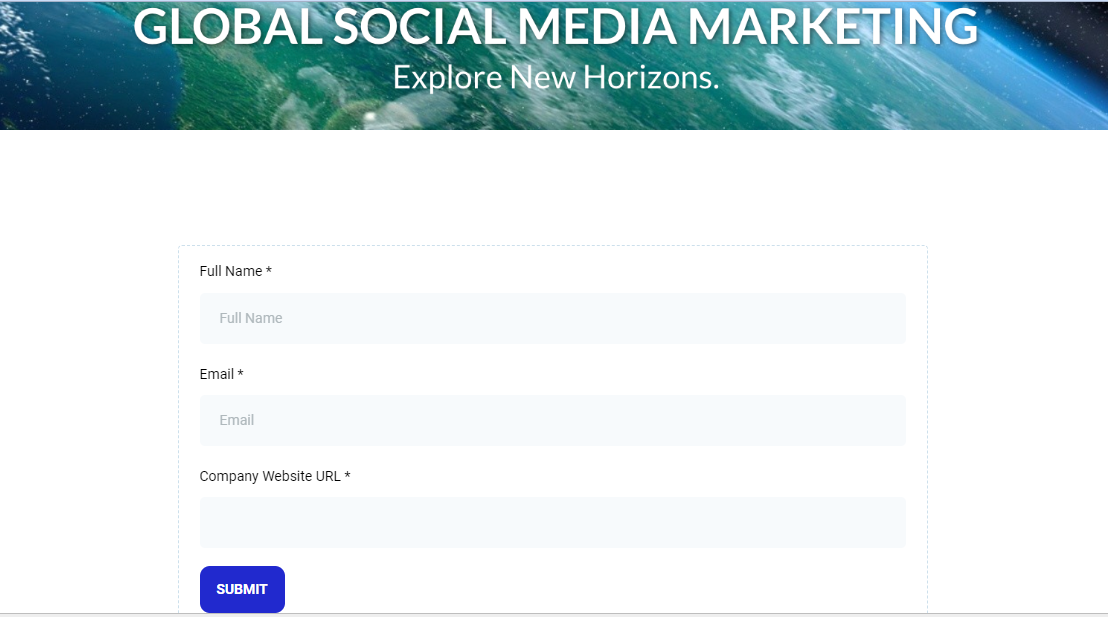
Create a Form Page:
The form page is the next page that we’re going to create for our funnel. Basically, a form page contains a form so that we can collect lead data. Here is an example of a form page.
Again, click on the “Add new Step”. Enter the Name of your page and path, this time we will enter the “Form page”. Next, click on “Create New Funnel Step”.
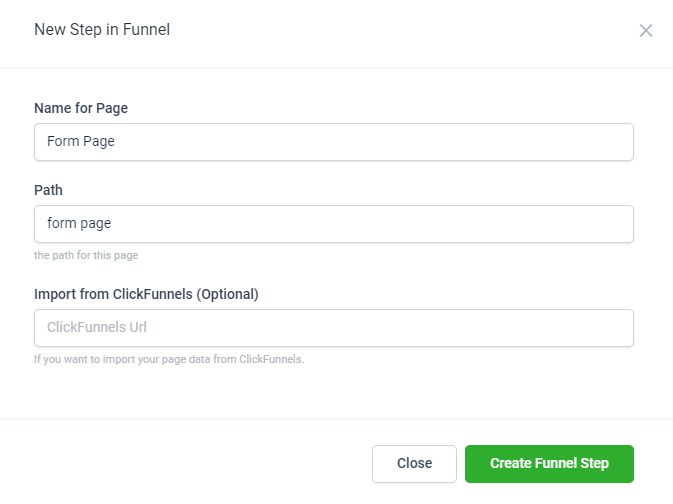
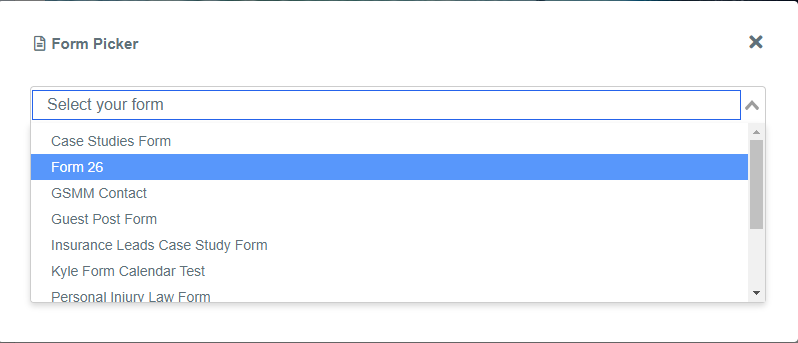
Next, you can build the page by clicking the existing or creating from the black option. The process for building the form page is similar to the above landing page. As this page is a form page, make your to add a form to your page so that you can collect your leads. To add a form, click on the “Add element, and Choose the “Form” element.
Once you have done creating your form page, click on the “Save” button.
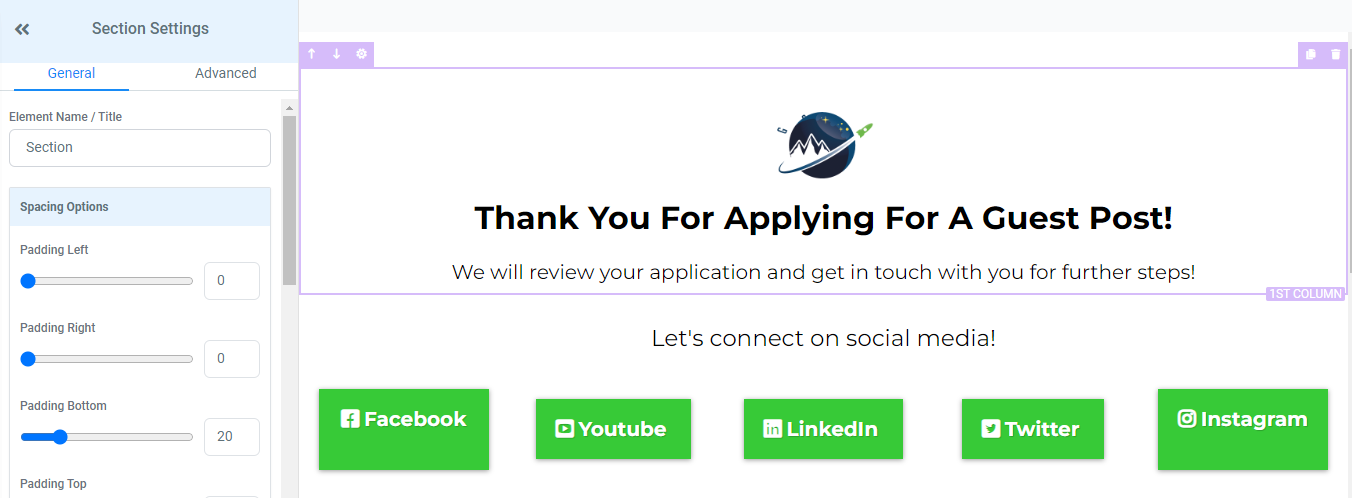
Create A Thank You Page: The thank you page is the last page that we’re going to create for our funnel. The purpose of this page is to thank the leads who have filled out the form in the second step. Here is an example of a thank you page.
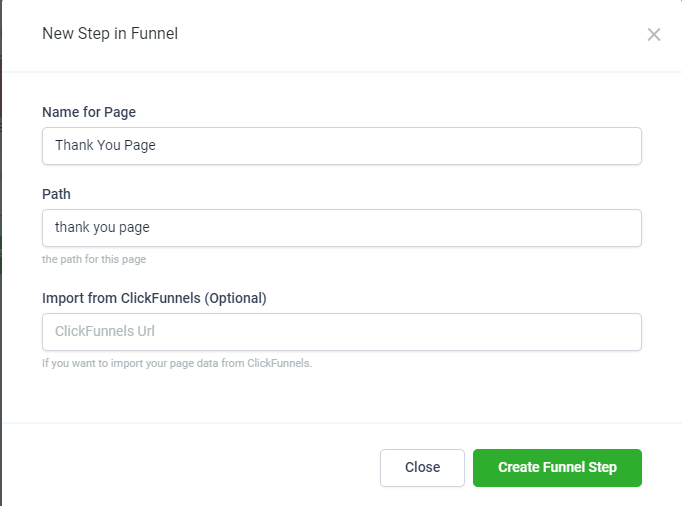
Again, click on the “Add new Step”. Enter the Name of your page and path, this time we will enter the “Thank you page”. Next, click on “Create New Funnel Step”.
The process of building the thank you page is similar to the above two pages, you can either import the existing page or create it from scratch. You can create something very simple for your thank you page which contains just a thank you page message. Additionally, you can also add social media links on your thank you page as we did for our above guest blogging thank you page.
Publish Your Sales Funnel
Once you’ve done creating your sales funnel, the next step is to publish it somewhere to make this live. With Gohighlevel, you can have multiple options for publishing your sales funnel. In this guide, we’re going to show you how you can publish your sales funnel on a WP site and on a subdomain.
How to Publish a Sales funnel on a subdomain?
Open the sales funnel, and go to the settings tab. Next, open the domain drop-down menu and here you will see the list of domains that you’ve added to the GoHighlevel platform.
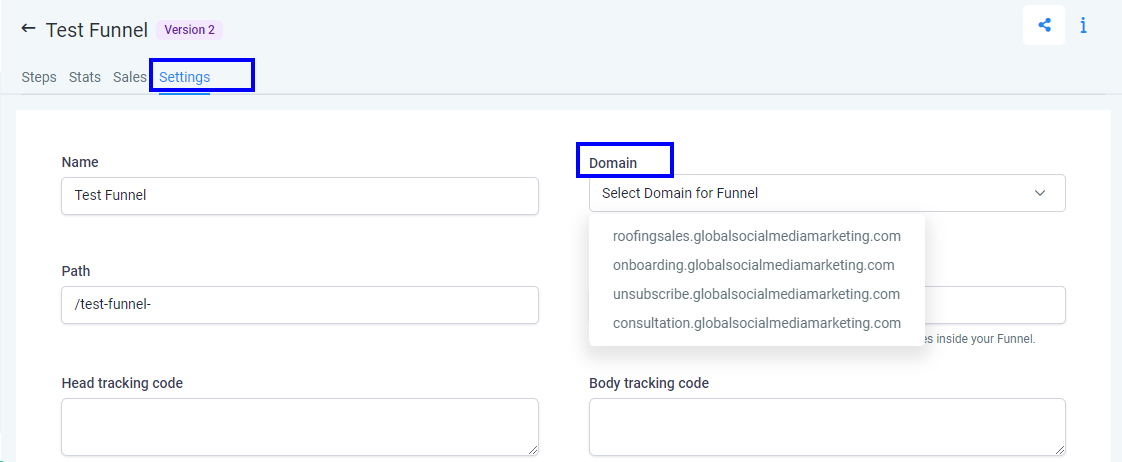
Choose the domain on which you want to publish your funnel and hit the save button from the bottom of the page. In case, you don’t see any domain under the drop-down section, it means that the domain is not added to the highlevel platform yet. So, consider adding that required domain to a highlevel first, and after you can select that domain from this section to make your sales funnel live on that domain.
Here is the guide on setting up domains and subdomains for highlevel sales funnels.
How to Publish Sales Funnel on Your WordPress Website?
GoHighLevel also allows you to publish your funnels directly on your WordPress site. For this, you need a plugin called “LeadConnector, and here are the steps for it: Navigate to the WordPress admin dashboard >. Plugin> Add New. Search for the “LeadConnector” plugin, click on “Install Now, and Hit the “Activate” button.

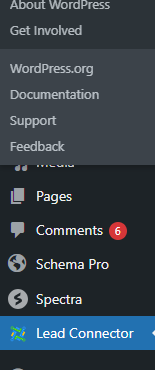
Once you installed the plugin, in the left navigation you’ll see a new option “Lead connector” Click on it.
In order to use this plugin, you have to submit your Highlevel API Key for verification. To get the API Key, navigate to your Gohighlevel dashboard > settings. Scroll the page and you’ll see your API key.
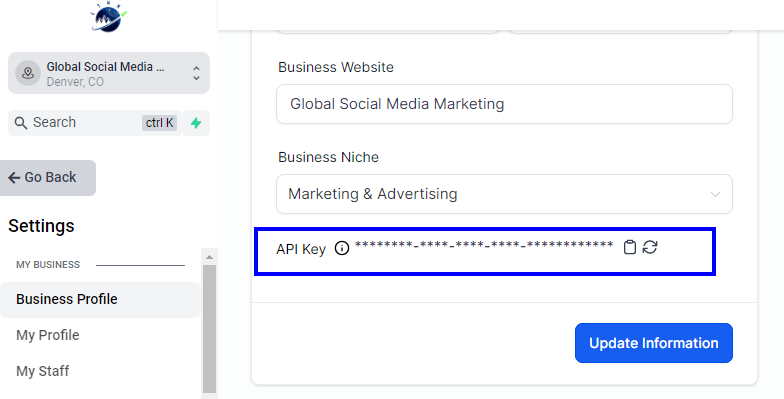
Copy the API Key, and paste it into the Leadconnector plugin on your WordPress dashboard. And click on “Save”.

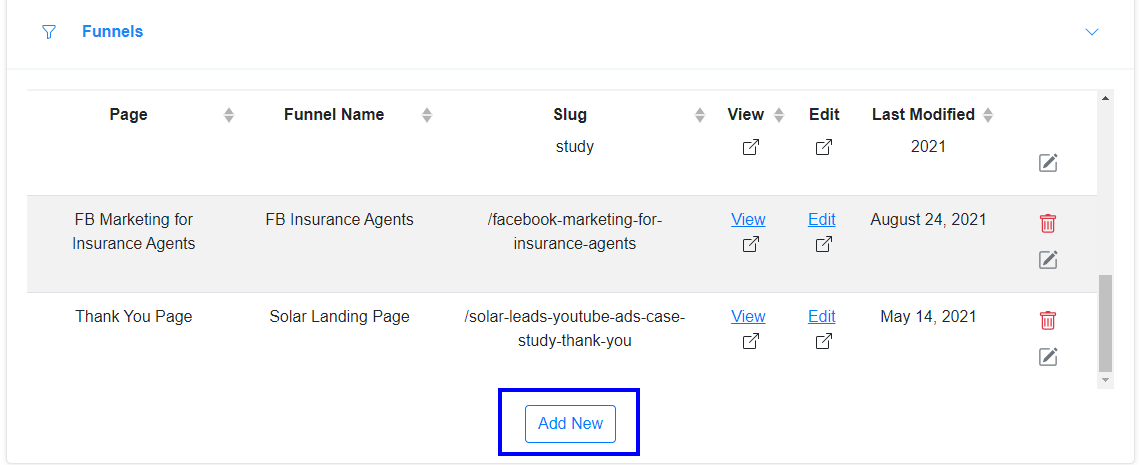
Once you’ve successfully verified, you can start publishing your sales funnel on the WordPress site. Now, Open the Funnels drop-down and click “Add New”
Next, you will see the pop-up from where you can add Highlevel sales funnel pages to your WordPress site.
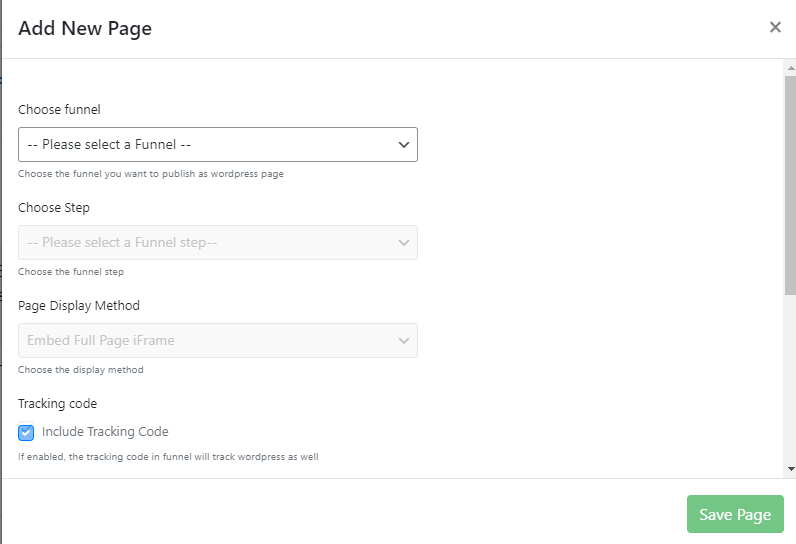
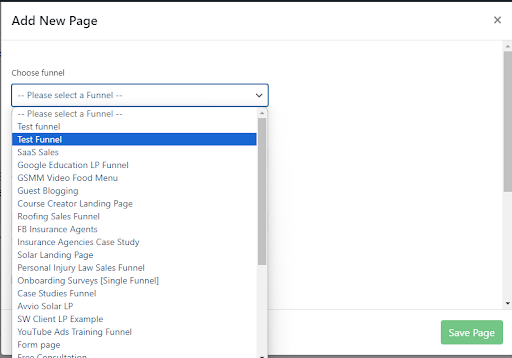
Choose Funnel: Choose the funnel you want to publish on your WP site.
Choose Step: Choose the particular step from where you want to publish. So, here you can pick the first step.
Page Display Method: Select how you want to display your page. We usually choose “Embed Full Page I-frame” Tracking code: Check the box, if you want to enable the tracking code for WordPress as well that you pasted in the Sales funnel settings Under the Highlevel platform. You can keep this enabled.
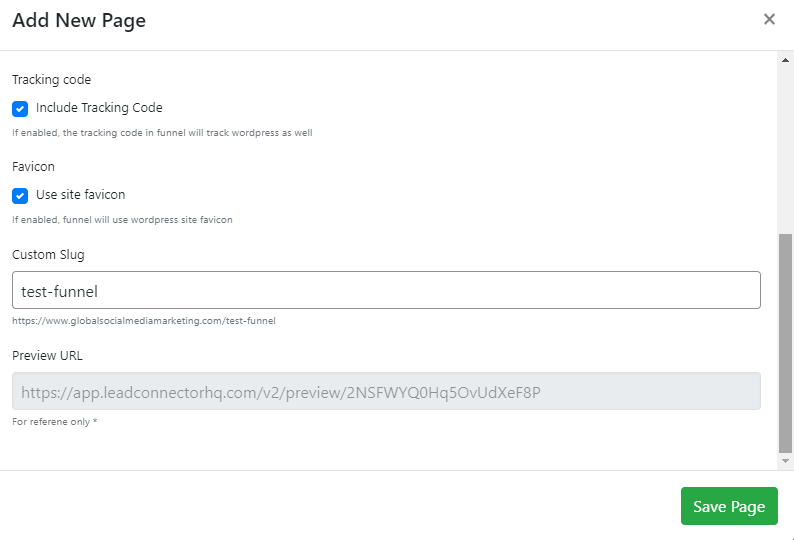
Use site favicon: Checking this box will enable the funnel to display your WordPress site favicon. You can keep this enabled. Enter the Slug by entering the url text which you want to display after your domain name. You can simply enter the sales funnel name here. Once done, hit the “Save Page.” Now you will see that your new funnel will start displaying under the Funnels section of the LeadConnector plugin.
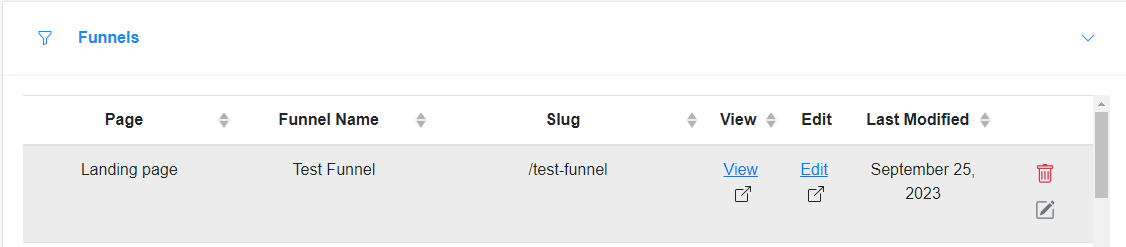
From here, you can click on “View” to see your live funnel on the WordPress website.

How to Add Tracking Codes in Sales Funnels?
Navigate to the Gohighevel dashboard, Open the sales funnel to which you want to add the tracking code, and click on the “Settings” tab. Paste your tracking code in the head tracking code or body tracking code, based on what you want to track.
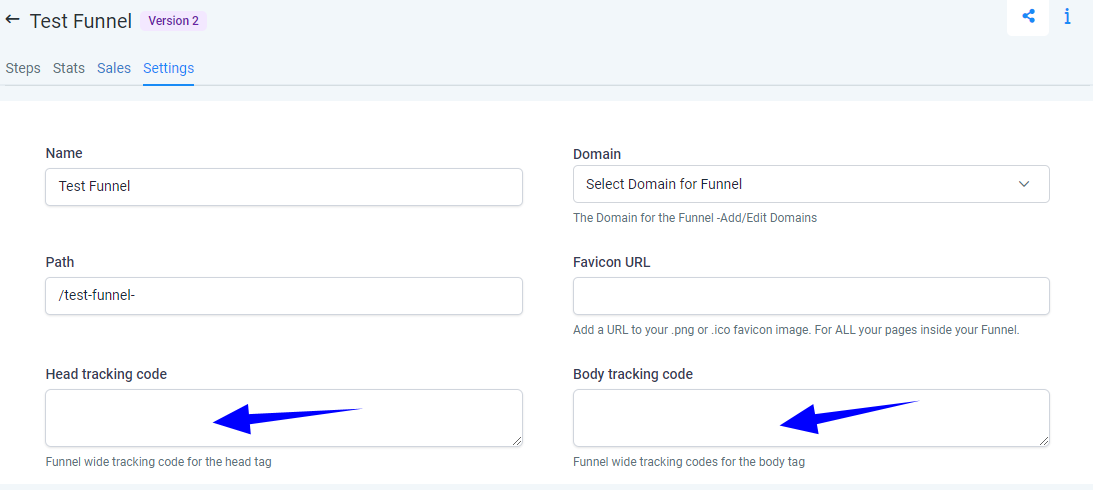
After adding the tracking code, hit the “Save” button.
Conclusion
I hope this guide will help you to build a sales funnel in the Gohighlevel. You can either use prebuilt templates or create your own sales funnels. Additionally, you can also import your exciting sales funnels or website pages to build sales funnel steps quickly. This is just a basic funnel to show you as an example. For our clients, we build marketing funnels that generate results and are also integrated with automation to save you time and money. If you’re interested in learning more, check out our GoHighlevel Mastery Course to become a highlevel expert!

Struggling to Effectively Use GoHighlevel?
No worries! Our GoHighlevel Mastery course can shift you from stress to success. After serving 100+ Highlevel clients, we’re now educating everyone on how to effectively use highlevel and automate your business in 2024. Check out our Highlevel Mastery Course to start Mastering Highlevel!